Management
This page covers the day-to-day handling of your transactions: finding them, changing them, and keeping an account in step with your bank statement.
The Transactions screen
Tap Transactions in the bottom bar. You'll see a chart of the Last 14 days, your upcoming transactions, and your recent transactions grouped by day with each day's total. For older transactions, use Smart search.
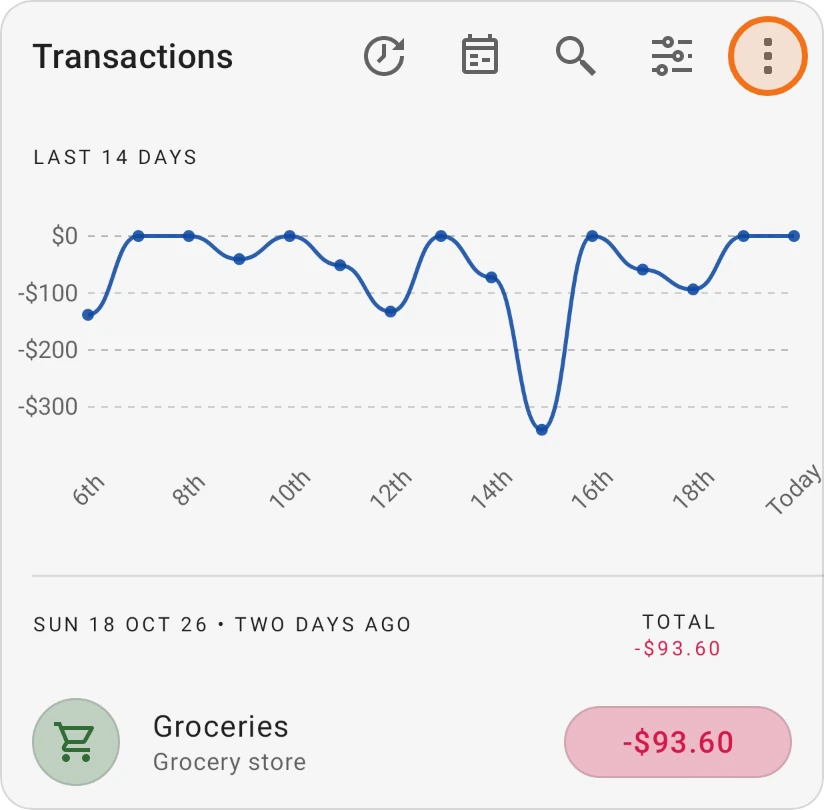
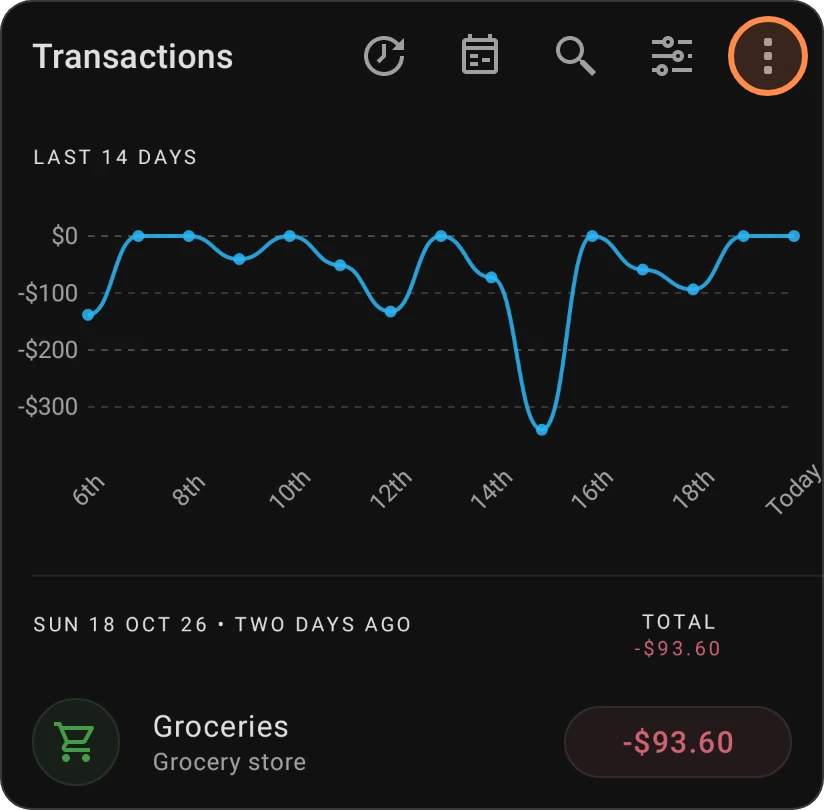
The icons in the top bar open:
- Upcoming transactions: everything scheduled.
- Transactions calendar: your transactions day by day; see Transactions calendar.
- Search: Smart search.
- Change display settings: what the list shows (see below).
The ⋮ menu has Spending comparison, Spending insights, Transaction map, Import transactions (CSV), Bulk update, Transaction templates, Quick expense and New transaction.
View, edit and delete a transaction
Tap a transaction to open its Transaction details. From there you can quickly change the most common things without opening the full form: Cleared, tags, sentiment, color, date and payee. The top bar has:
- Edit: open the full form.
- Delete: remove the transaction (this can't be undone).
- The ⋮ menu: Refund (record money coming back for this expense; see Credits and refunds), Clone transaction (start a new transaction with the same details) and Create template (see Templates).
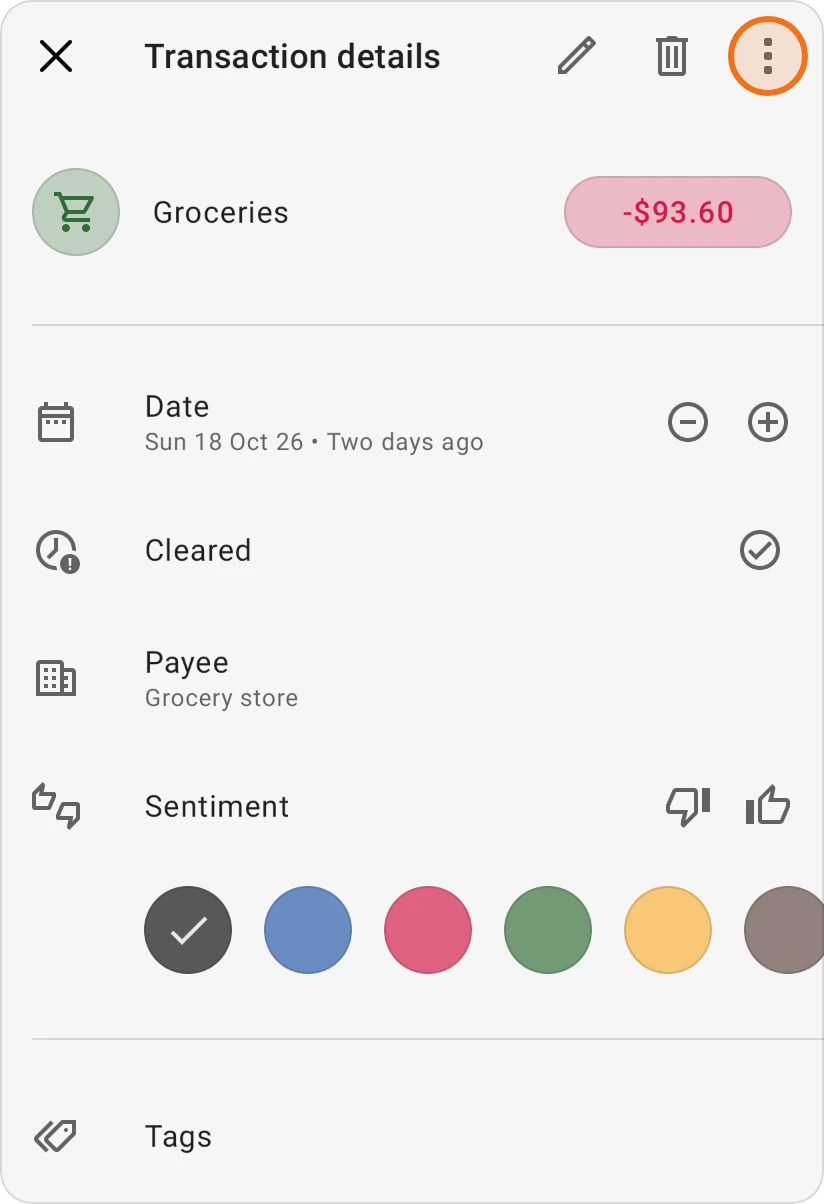
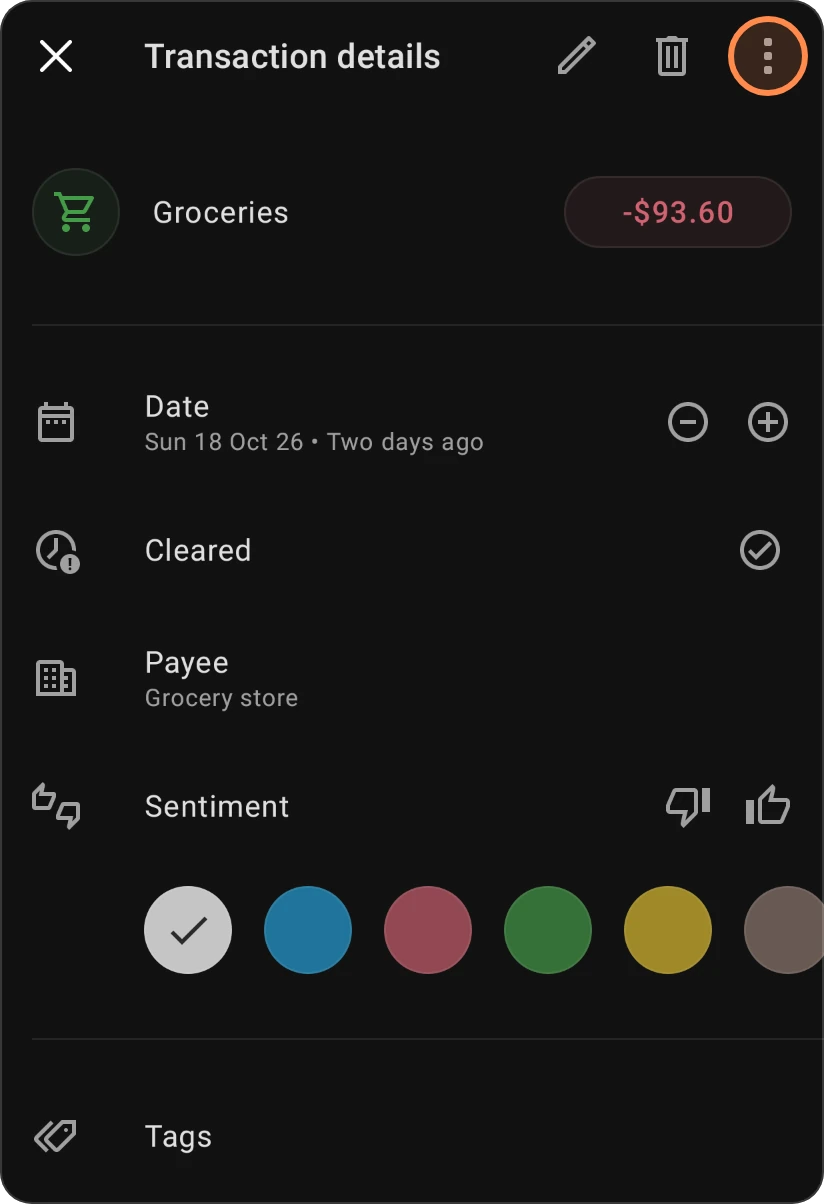
Further down, Transaction details shows more when the transaction has it:
- Created by: who added the transaction, handy in a shared budget.
- Files: the files attached to it. Tap a file to view it, or its Share icon to send it to another app. A file the device can't open is offered for sharing instead. See Attach files.
- From same split: the other parts of a split expense. Tap one to open it.
- Unlink: shown when you open the transaction from a debt's Transaction history (see Small debts). It removes the transaction's link to that debt, after you confirm with Unlink. The transaction itself stays as it is.
Swipe a transaction to the right to jump straight into editing it.
To change several transactions at once, use Bulk update.
Change what the list shows
Tap Change display settings (the filter icon) on the Transactions screen to open Transaction visibility & display. You can:
- Open Customize transaction fields, the first row, to choose which fields the transaction form shows (see Customize the transaction form).
- Pick the Accounts to display in the list and chart.
- Choose whether Transfer and Money reallocation transactions are shown in the list and counted in the chart, and give them their own color.
- Set Days ahead to display and Reverse order for Upcoming transactions.
- Turn on Show account icon or Hide account names (for expenses).
- Hide notes, Hide tags or Hide member name (in a shared budget) to keep the list tidy.
- Show chart at the top of the screen.
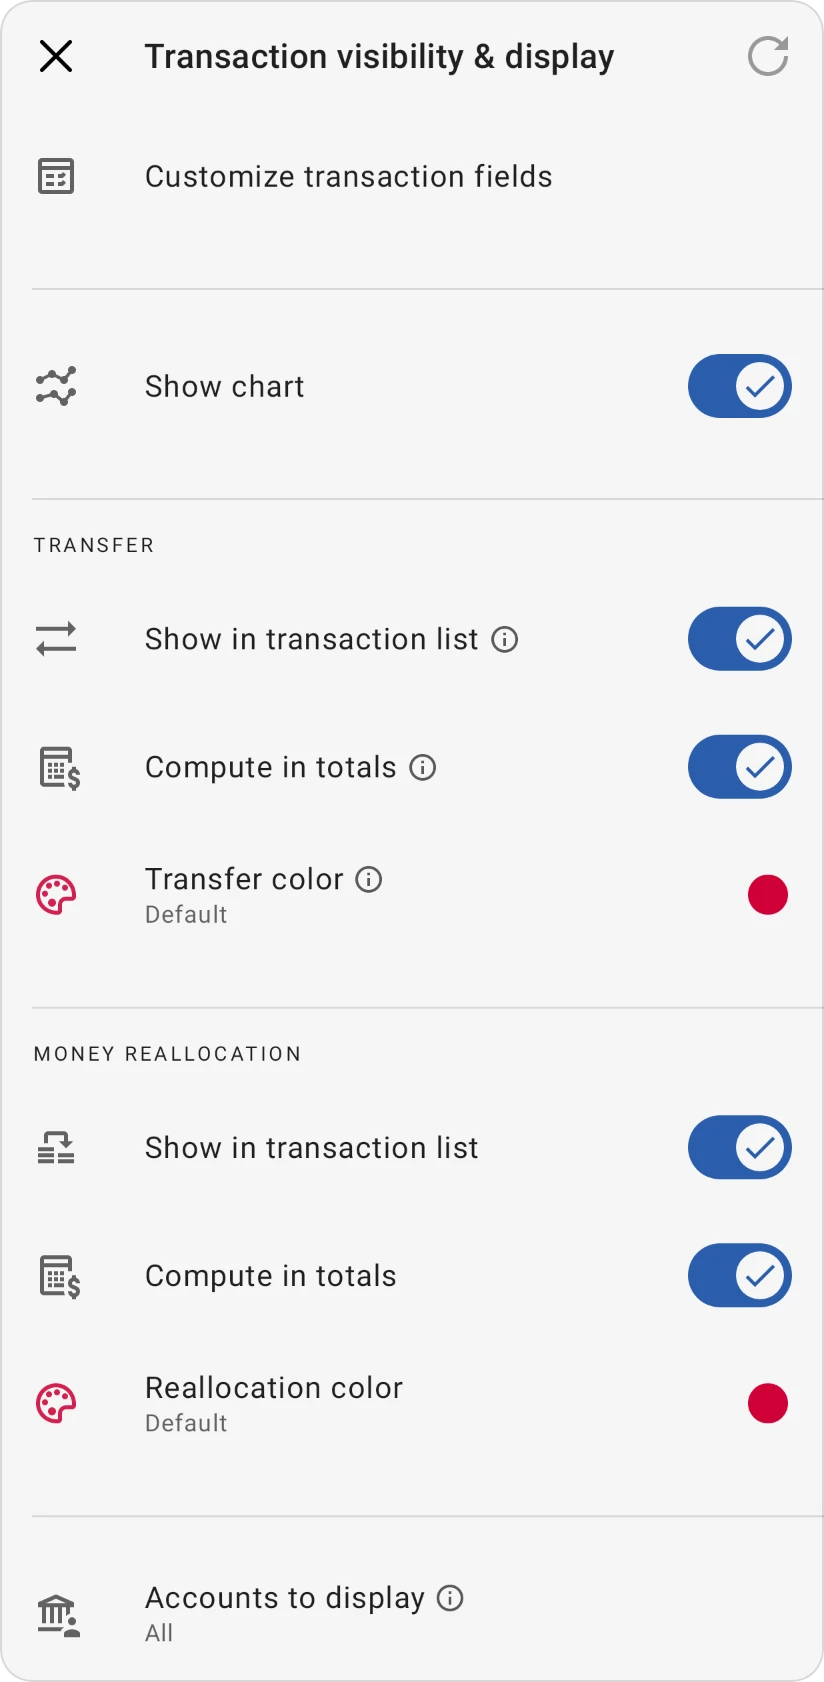
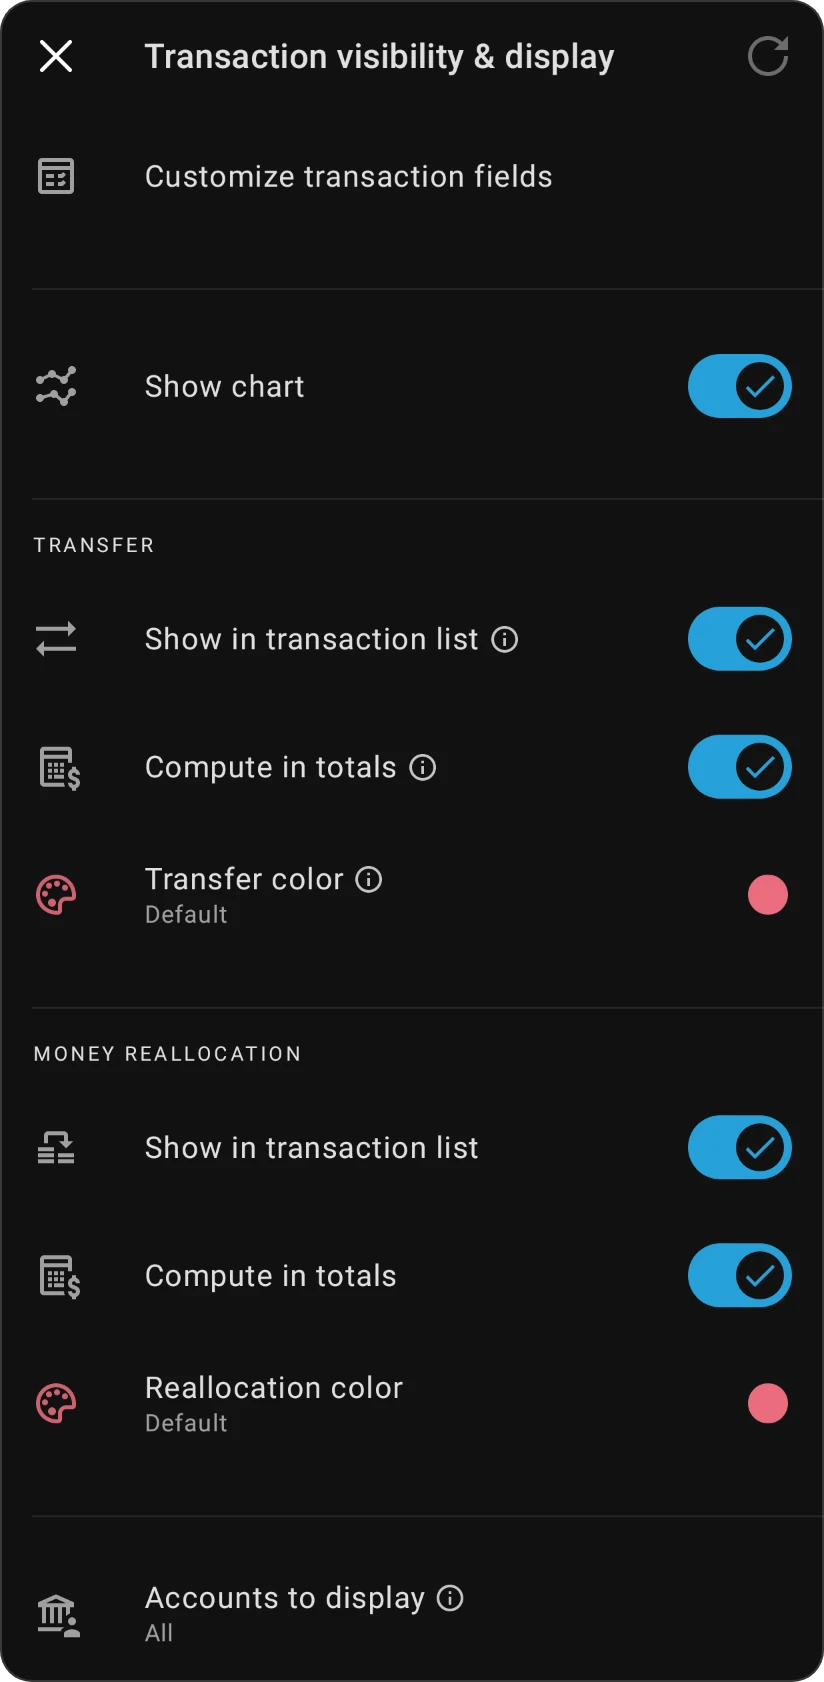
Reset puts everything back to the defaults. These settings only change what you see: hidden transactions are still in your accounts and reports.
Reorder and reconcile an account's transactions
Reconciling means checking your transactions against your bank statement, one by one, so the app's balance matches the bank's. Transaction management is built for this.
-
Tap Accounts in the bottom bar and open the account.
-
Tap Transaction management (or choose it from the ⋮ menu).
-
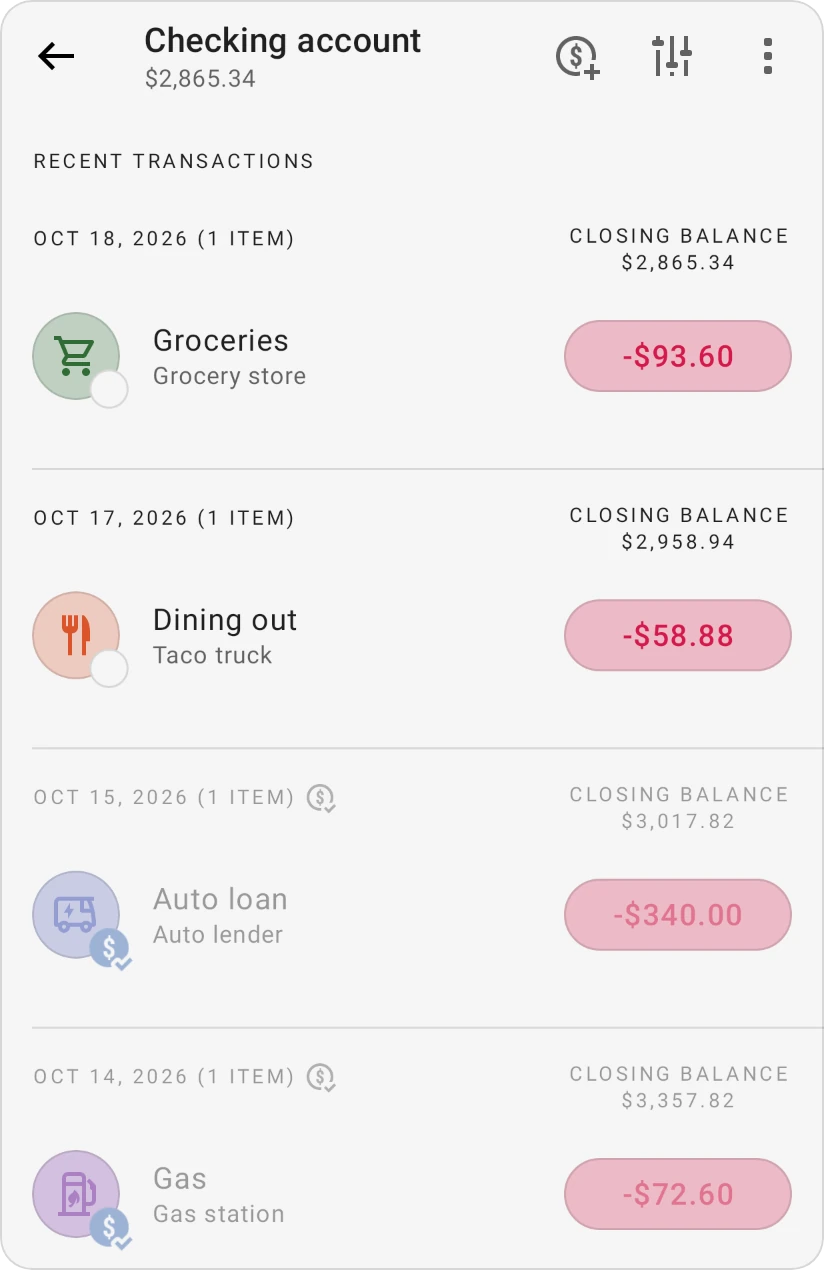
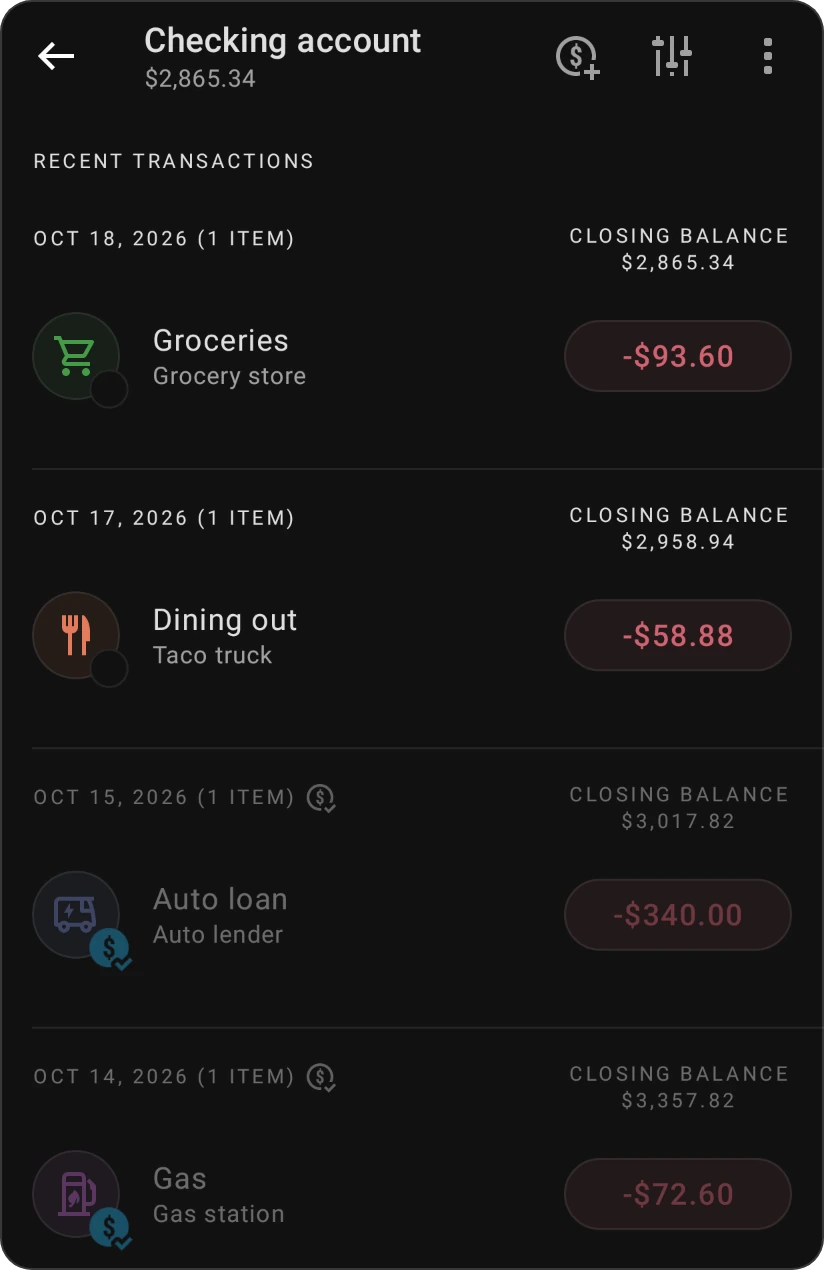
Go through your statement. When a transaction matches, tap the circle next to it to mark it as reconciled. The app remembers your progress, so next time you can pick up where you left off.
-
To put transactions in the same order as your statement, drag them by their Reorder handle. You can reorder transactions within the same day.
The ⋮ menu offers Hide cleared & reconciled and Dim reconciled transactions to help you focus on what's left. Reconciling needs an internet connection.
The same menu has two switches that add sections above the list (not on loan accounts). Both are off until you turn them on, and the app remembers your choice for every account:
- Show projections ("View your future balance after upcoming transactions (when available)"): shows the account's Balance projection. Tap the chart to open the full Balance projection, or tap its info button for a short explanation.
- Show spending insights: shows the account's Spending insights: what it has spent this month, compared with last month, and the Trend.
Reordering transactions is part of Pro.
To find a difference between the app and your bank balance, try Account X-Ray in the account's ⋮ menu; see Basic details.