Shopping list
Shopping lists help you plan your groceries and bigger purchases before you spend. Each item can have a quantity and an estimated price, so you see what a trip will cost, and Sleep on it gives you time to think twice about the expensive things.
On the Free plan you can have 2 shopping lists with up to 10 items each. Pro raises this to 200 lists with up to 1,000 items each.
Create a list
- Open the side menu and tap Shopping list (under Miscellaneous).
- Tap New shopping list (or the + button at the top).
- Enter a name, pick an icon and a colour, and confirm.
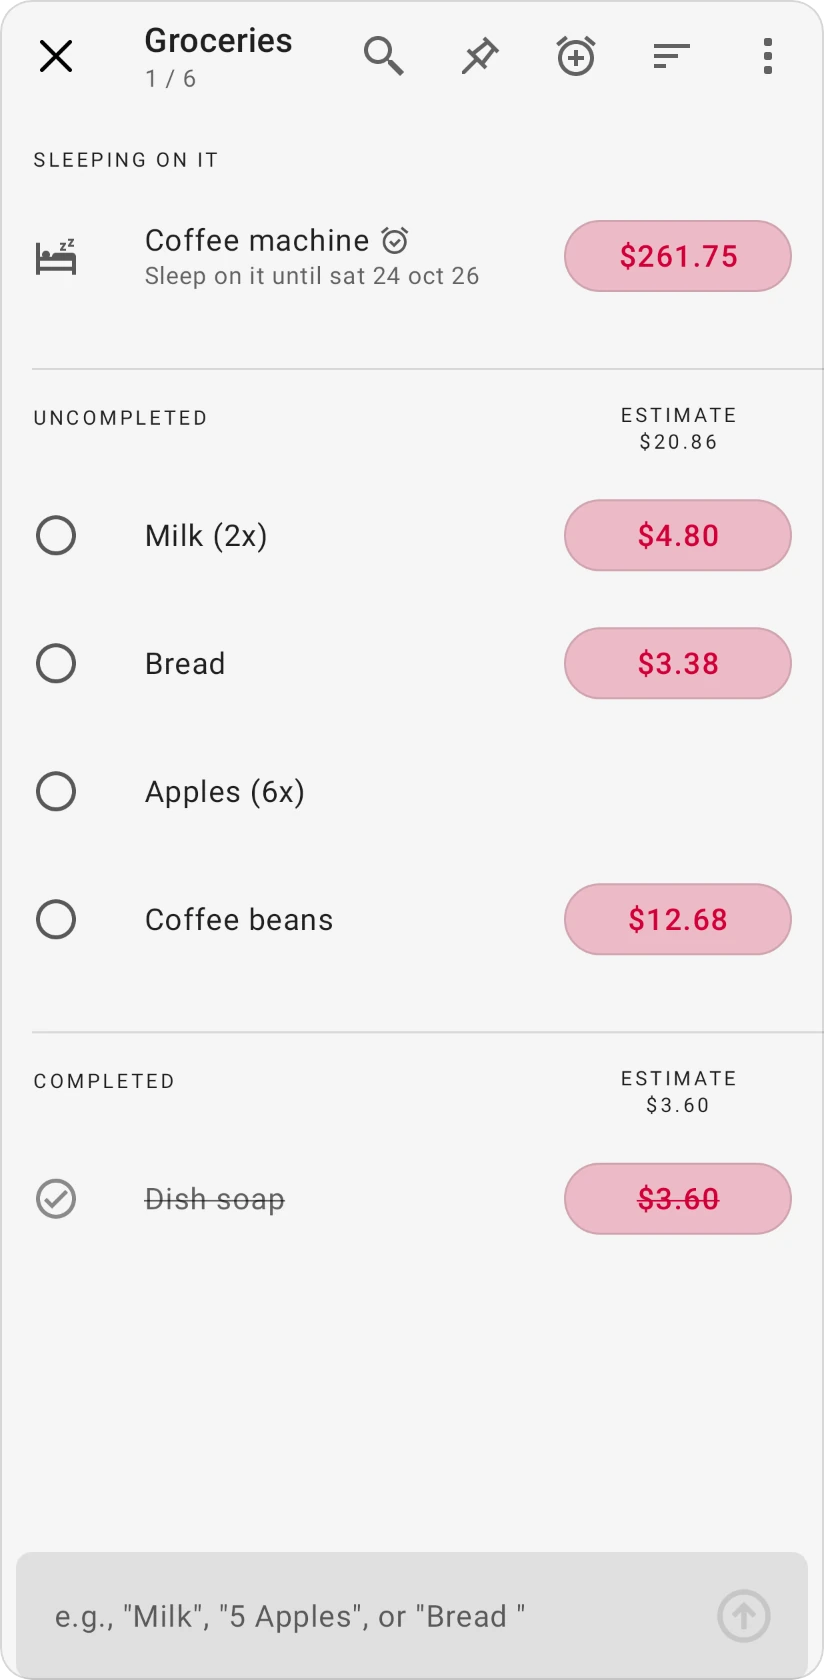
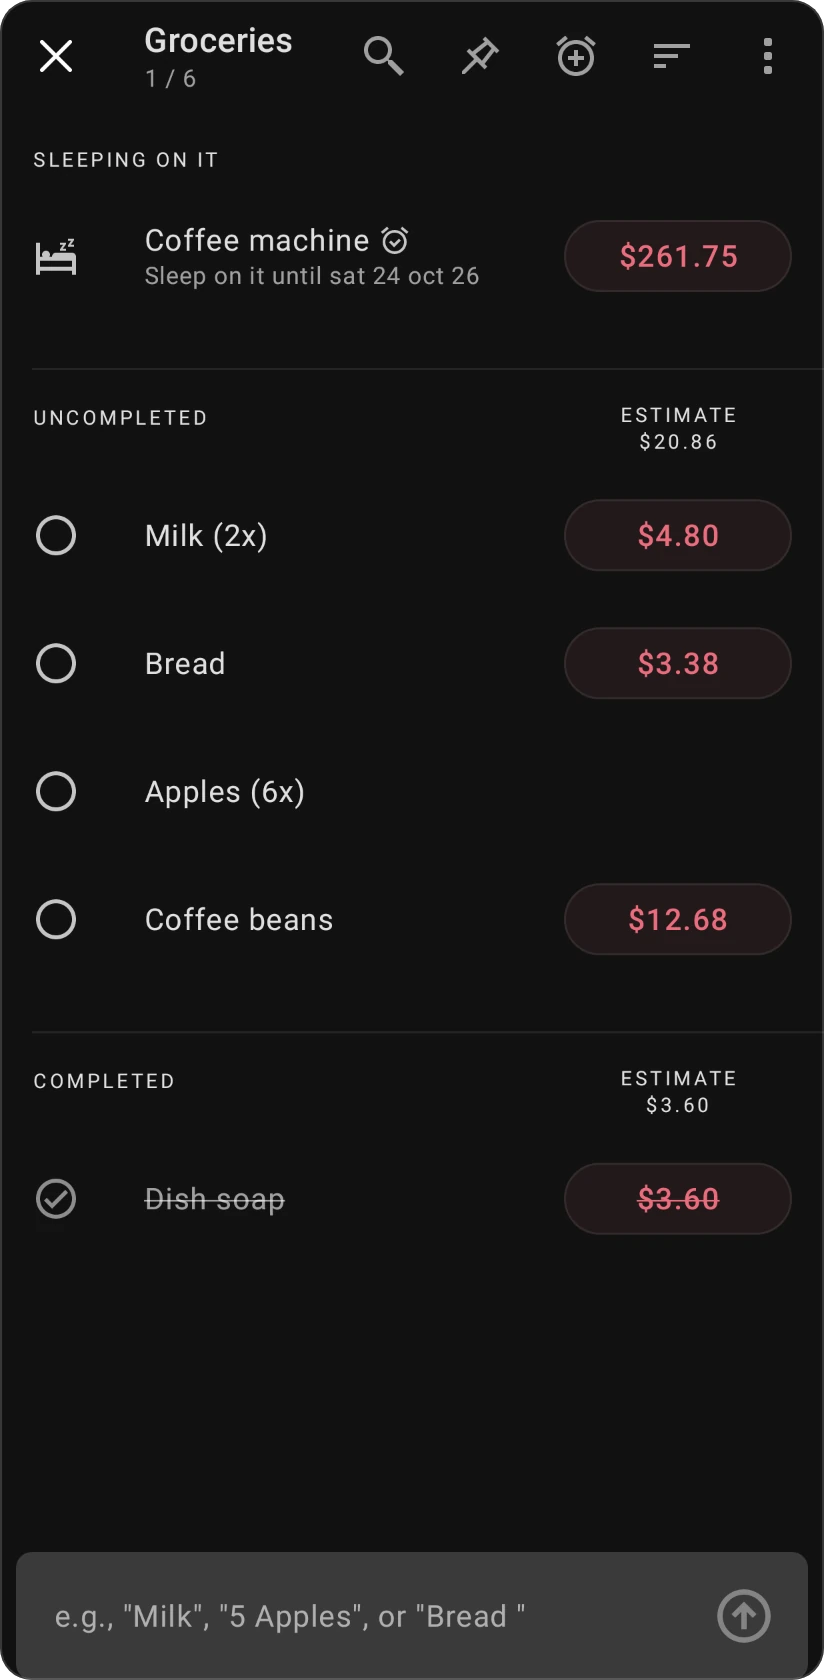
The Shopping list screen groups your lists into Uncompleted and Completed, with the estimated total of each group.
Add items
Type into the box at the bottom of the list and send. You can put a quantity before the name and a price after it, and the app splits them for you:
Milkadds just the item.5 Applesadds 5 apples.Bread 3.50adds bread with an estimate of 3.50.
While you type, the quantity, name and price are highlighted in different colours so you can check how the app reads them.
You can also add labels and a priority as you type:
- A word starting with
#becomes a label:Milk 2.50 #dairyadds milk with the label "dairy". An item can have up to 10 labels. !1,!2or!3on its own sets the priority: High (P1), Medium (P2) or Low (P3).Batteries !1 #hardwareadds batteries with high priority.
Paste many items at once
Copied a list from a note or a message? Paste it into the box at the bottom of the list. When it has two or more lines, Review pasted items opens, with one item per line:
- Check how each line reads. It shows how many lines you pasted and how many empty ones were skipped.
- Tap the round check next to a line to leave it out (tap again to add it back).
- Tap Add 12 items (the button shows how many will be added).
Each line is read like a typed one, so quantities, prices, #labels and !1 to !3 work too. A snackbar confirms "Added 12 items." with Undo if you change your mind.
If the list doesn't have room for every line on your plan, the screen says how many more fit, and only that many of the first ticked lines are added.
Work through the list
- Tap the circle next to an item to mark it as completed. Completed items move to the Completed section.
- Tap an item to open Edit shopping item, where you can change its Name, Amount, Quantity, colour and Notes, its Labels (words like #dairy or #hardware, separated by spaces or commas) and its Priority.
- Swipe an item to edit or delete it.
- Use the top bar to search the list, pin it, add a reminder, and sort it by Added date (default), Name, Color, Estimate amount, Notes, Priority or Custom. With Custom you can use Reorder items to drag items into your own order.
Labels
Once any item on the list has a label, a row of labels appears at the top of the list. Tap a label to show only its items, or All to show everything again.
To sort the list into sections, open the list's menu (⋮) and tap Group by label. Items that aren't completed are grouped by their first label, in alphabetical order, each section with its estimated total; items without a label go under No label at the end. Tap Group by label again to turn it off. The app remembers this for each list on your device.
The list's menu (⋮) has more actions:
- Edit: rename the list or change its icon and colour.
- Add reminder: get reminded about the whole list.
- Share: send the list as text (items grouped as Sleeping on it, Uncompleted and Completed) through any app.
- Mark all as completed / Mark all as uncompleted.
- Create transaction: opens a new expense with the estimated amount of your completed items, noted as "From shopping list …".
- Delete completed items and Delete list.
Sleep on it
For big purchases, give yourself a cooling-off period before you buy.
-
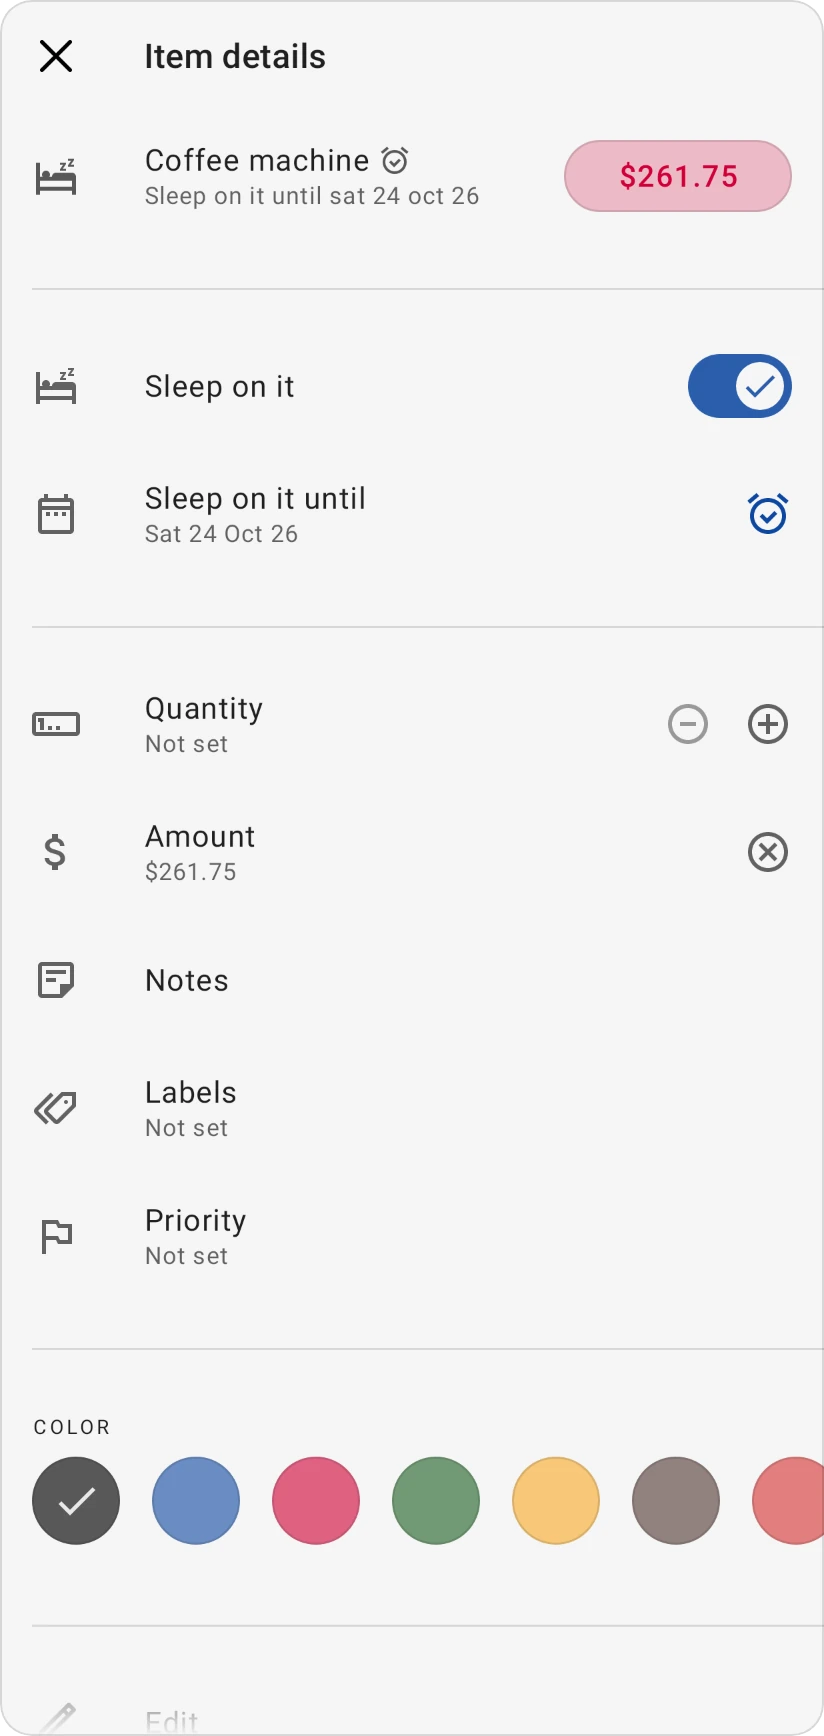
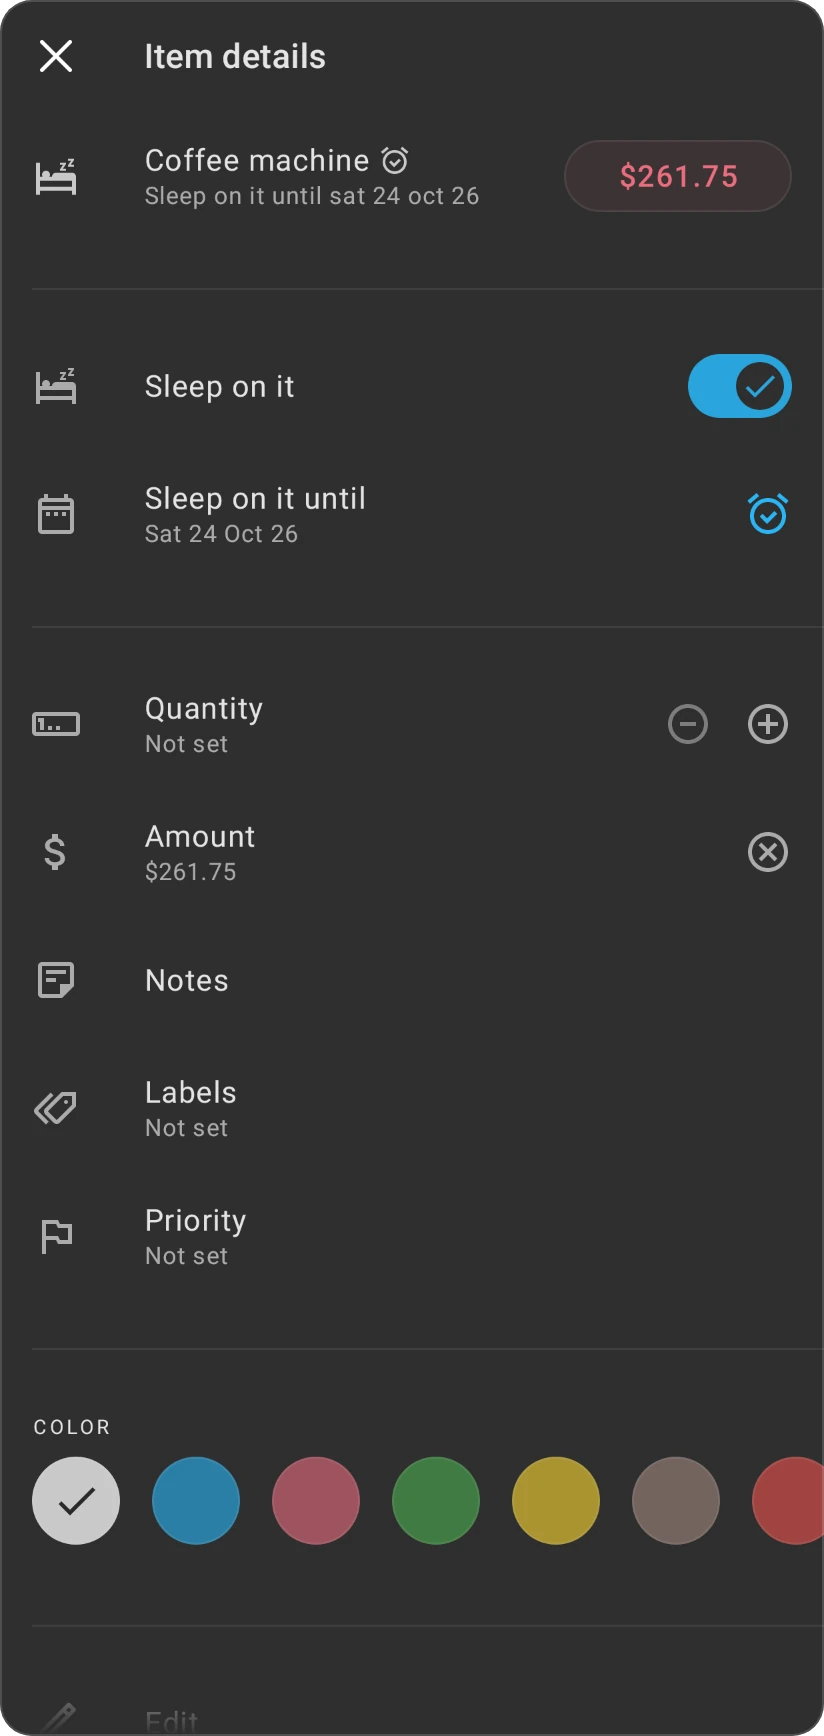
Tap the item to open Edit shopping item.
-
Turn on Sleep on it.
-
Tap Sleep on it until and pick a date (for example tomorrow, this weekend, next week or in one month).
-
Optionally tap the alarm button next to the date to get a reminder that morning.
Items you're sleeping on move to their own Sleeping on it section at the top of the list, showing the date you chose.
Pinned and shared lists
- Pin a list from its top bar to keep it at the top of the Shopping list screen, under Pinned shopping lists.
- If you're in a family group and have access to another member's budget, their lists appear under Shared lists and you can use them together.
- Tap the shortcut (bookmark) button on the Shopping list screen to add it to your Shortcuts on Home.
Reminders arrive as notifications on Android and iOS. The web app can't show notifications, so add reminders from the Android or iOS app.