Receipt scan
Turn a receipt into a transaction without typing it. Take a photo of the receipt, or pick one you already have, and Receipt scan uses AI to read the merchant, the amount and the date, then suggest the account, category and payee. You check the details and confirm.
It reads more than classic paper receipts: invoices, handwritten notes and even a photo of the checkout screen work too, in many languages.
Receipt scanning is available in the Android and iOS apps. It isn't available on the web: scan your receipts on your phone and they appear in the same budget everywhere.
Scan a receipt
-
Tap Add in the bottom bar.
-
On the Receipt scan row ("Convert receipts into transactions"), tap:
- the camera icon (Take a photo) to photograph the receipt now, or
- the photo icon (Choose a photo) to pick an image from your photos or files.


Tapping the row itself opens the scanner, where you tap Pick file to choose how to add the image.
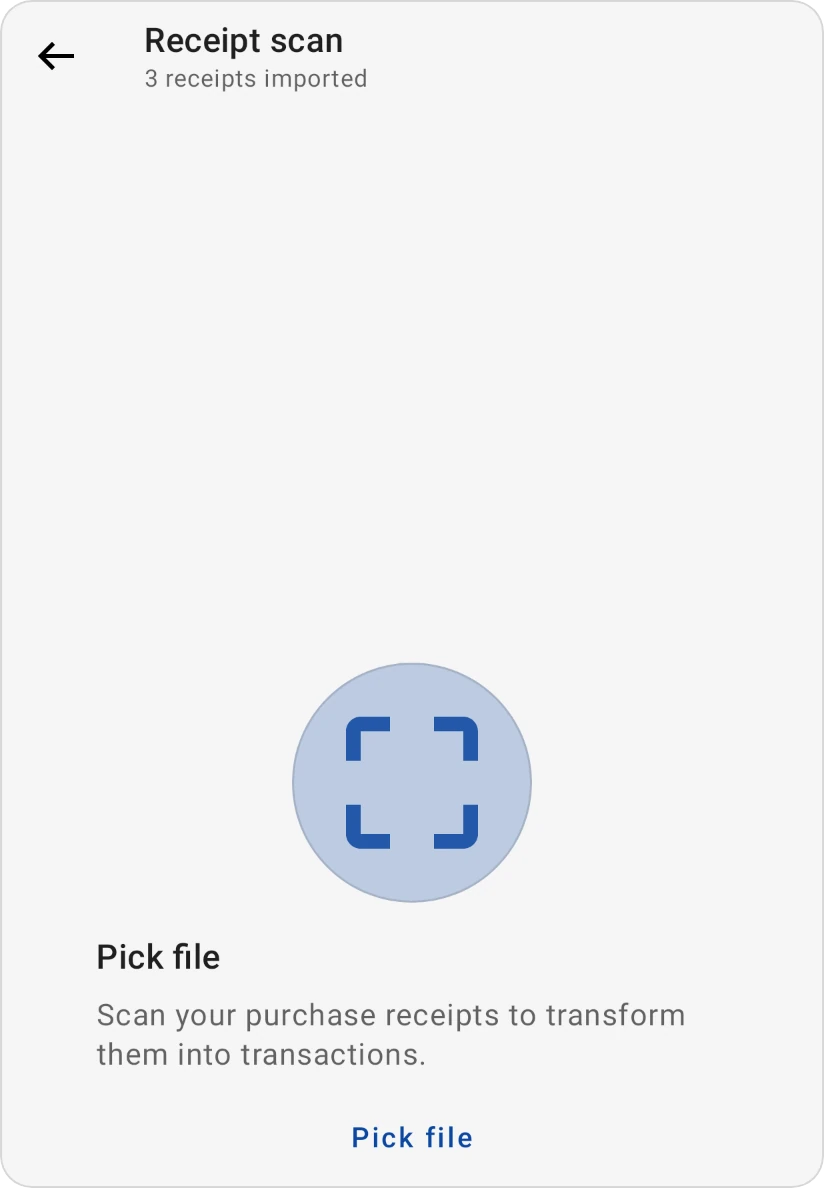
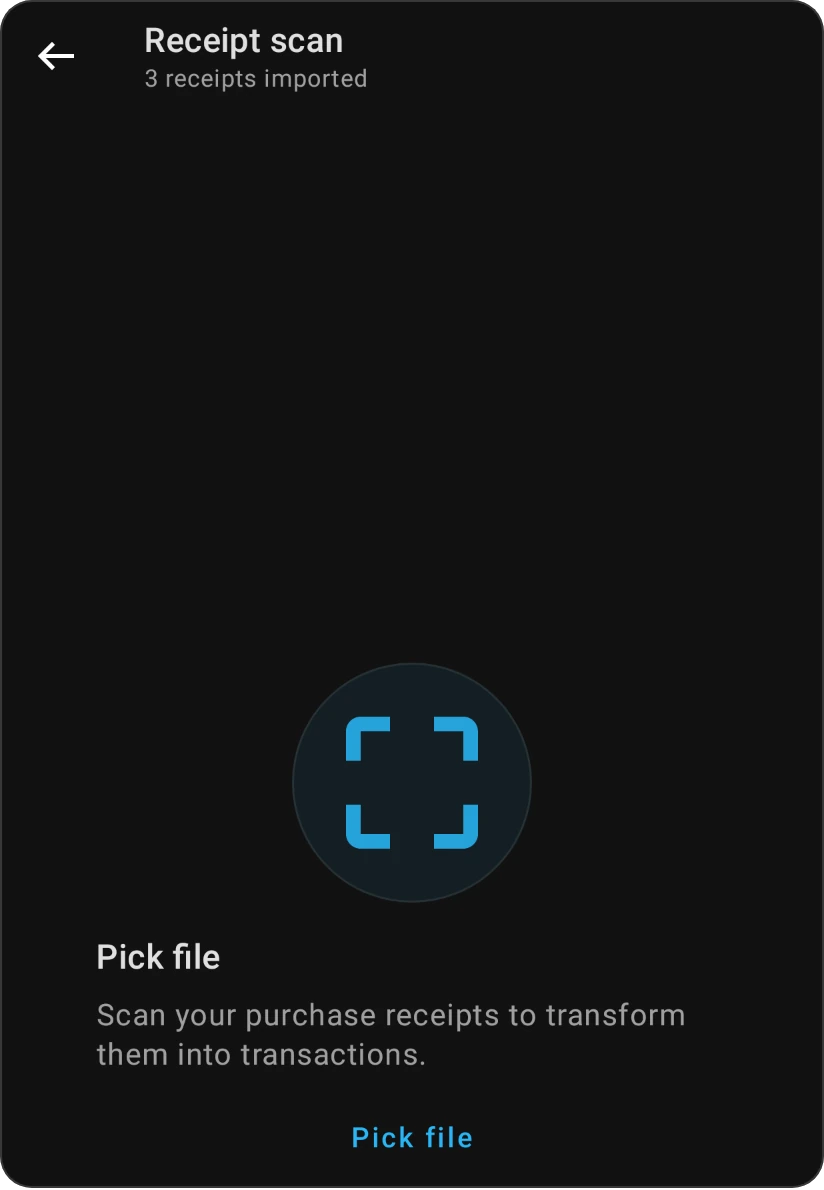
-
The app scans the image. Detected text is highlighted while the AI reads the receipt, which takes a few seconds. You need an internet connection.
-
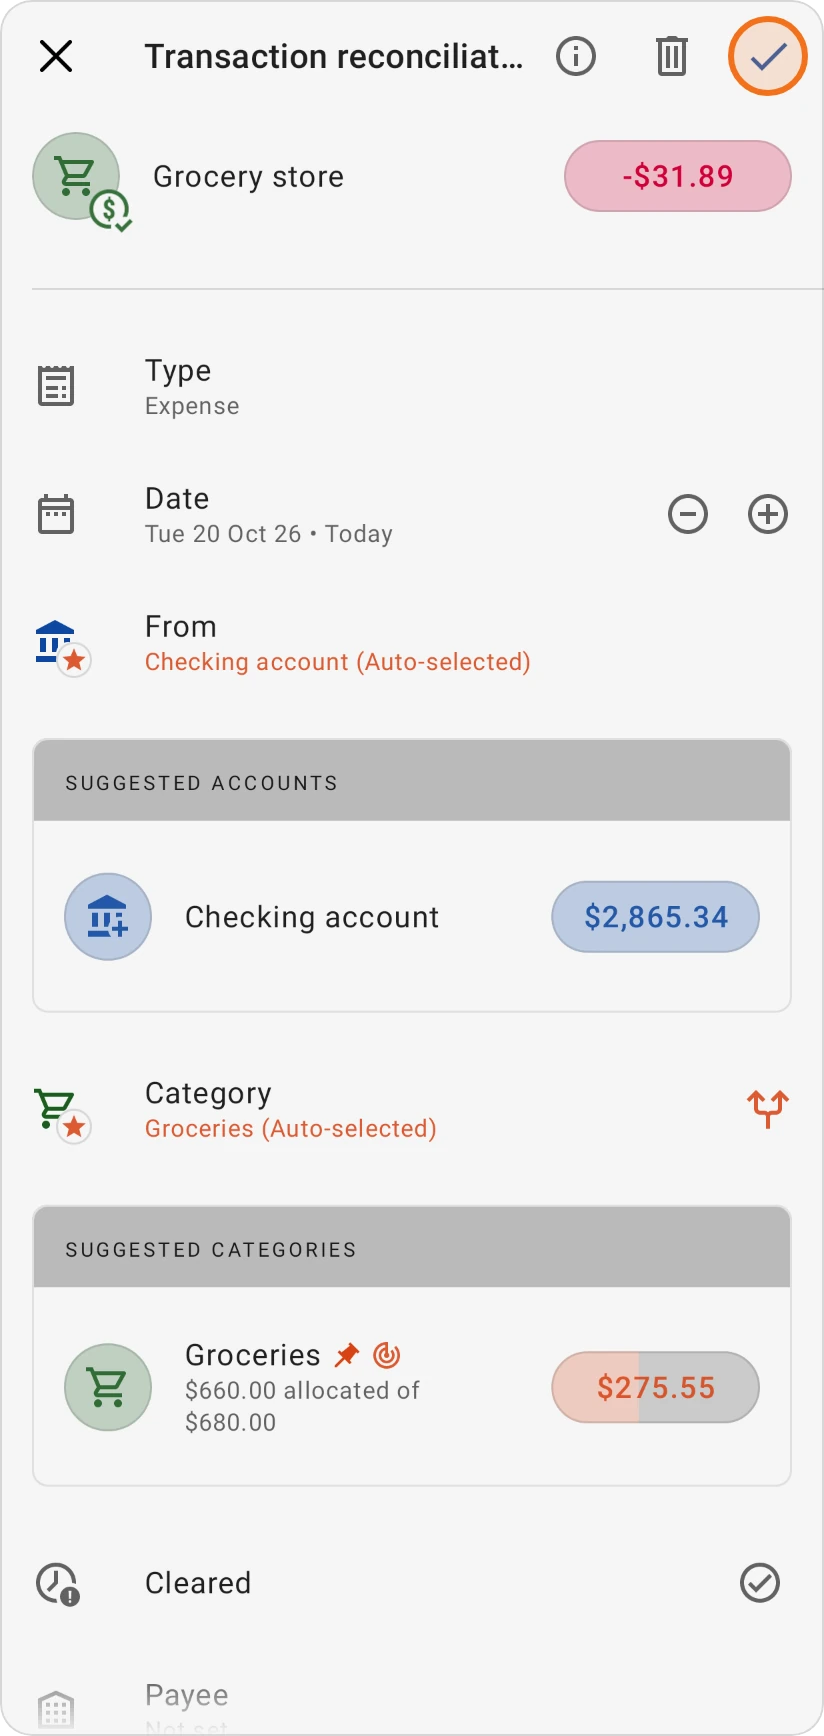
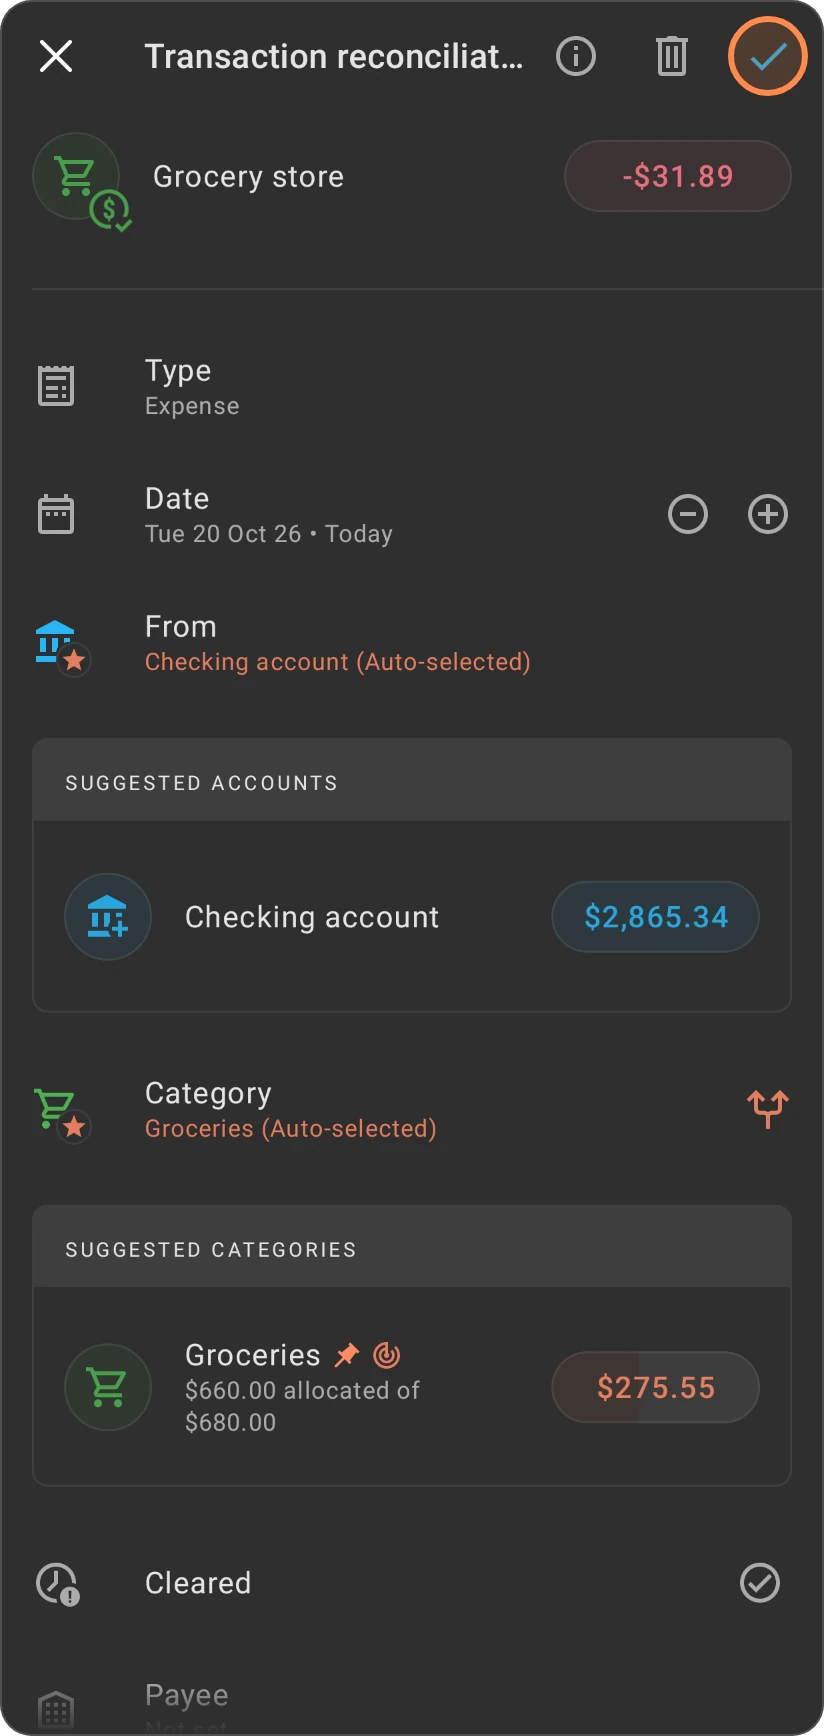
When it's done ("Boom! Receipt imported and ready to roll."), the Transaction reconciliation screen opens with what was found.
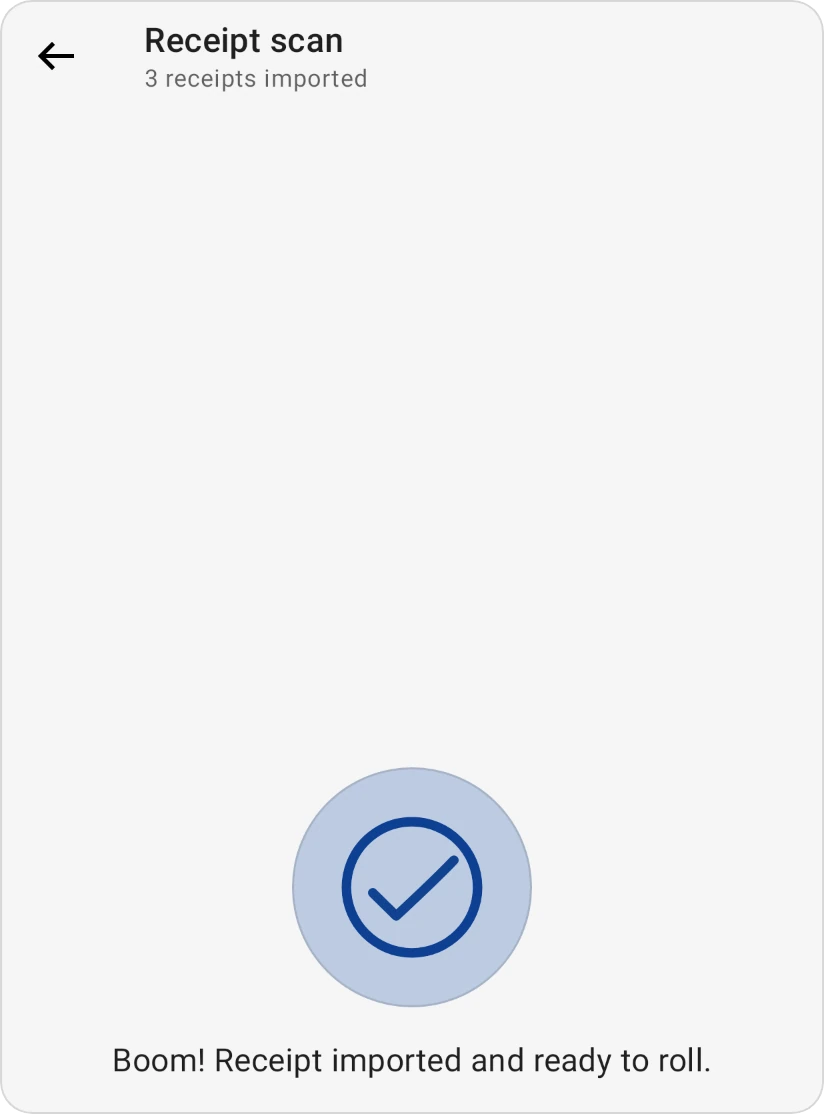
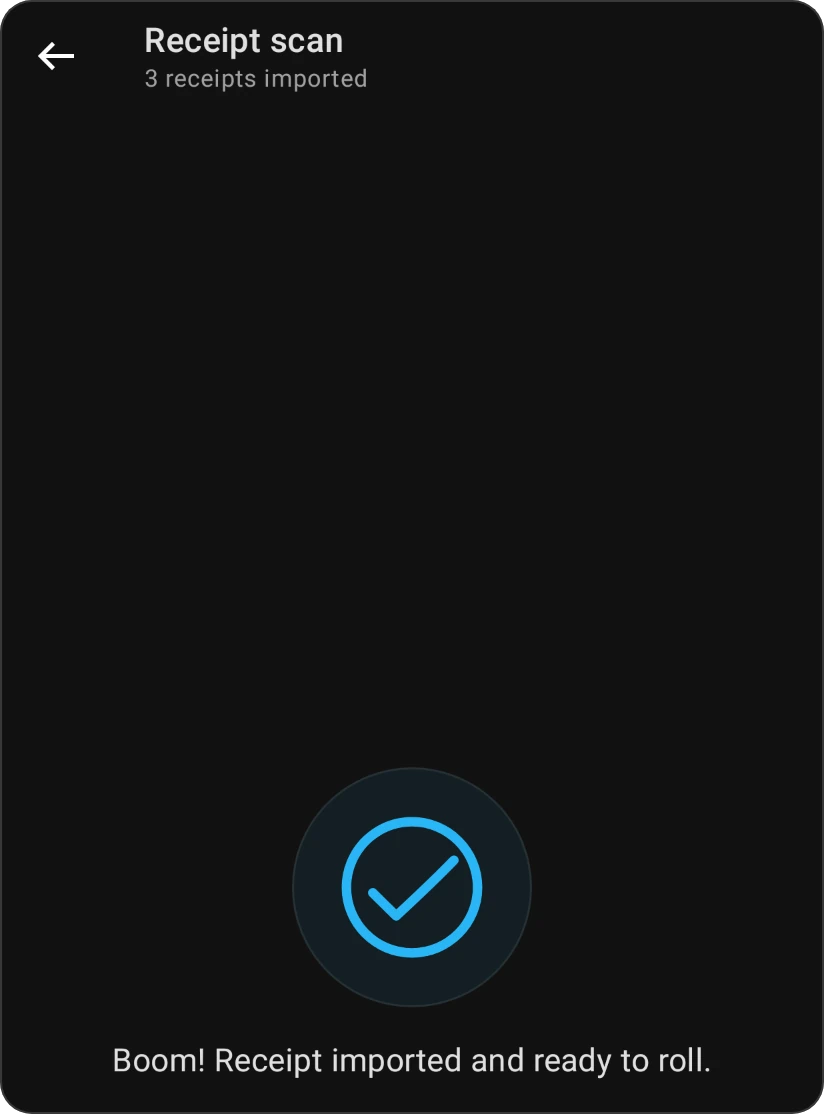
You can also start a scan while adding an expense: tap the scan icon at the top of the new transaction screen.
On Android you can also share an image to Beyond Budget from another app (such as your gallery) to scan it, or use the Receipt scan widget.
Check and confirm
On Transaction reconciliation, review what the AI read: the merchant, amount, Type and Date.
- From: the account you paid with. When the app found a match, it fills it in for you and marks it Auto-selected; otherwise pick one from Suggested accounts or choose another.
- Category: the same: a match is filled in and marked Auto-selected; otherwise pick one from Suggested categories or choose another.
- Payee: pick one from Suggested payees if you like.
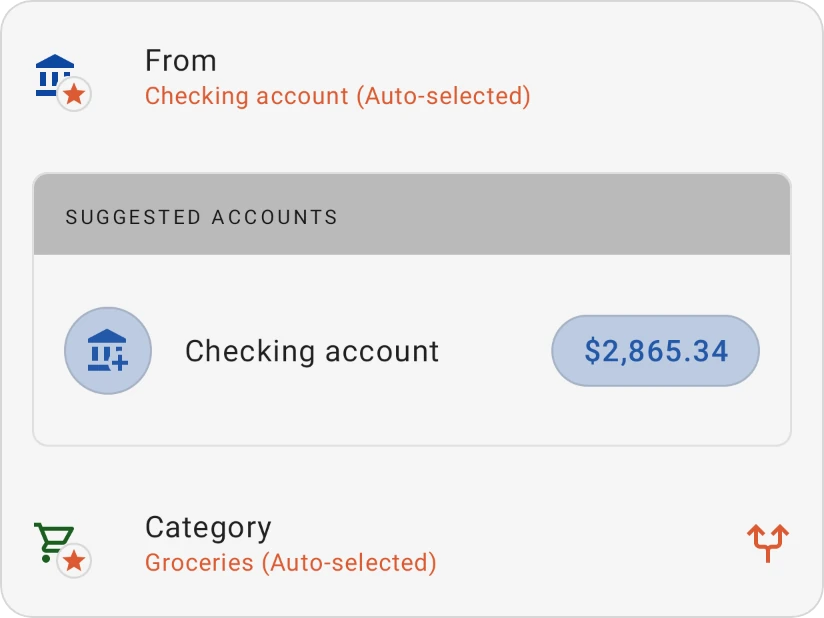
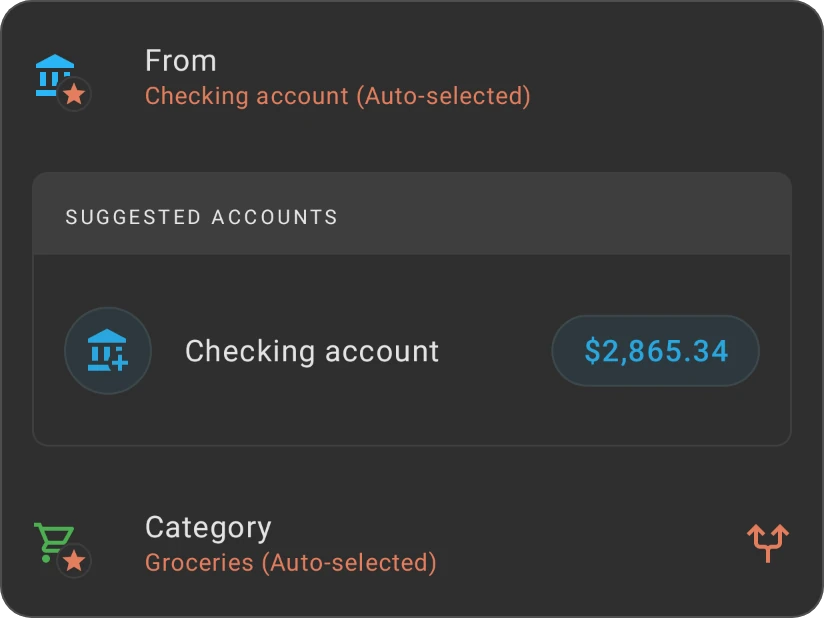
Fields marked Required (the app found no match for them) need a value before you can confirm. Tap View all transaction options for more fields. When everything is right, tap the checkmark at the top to add the transaction.
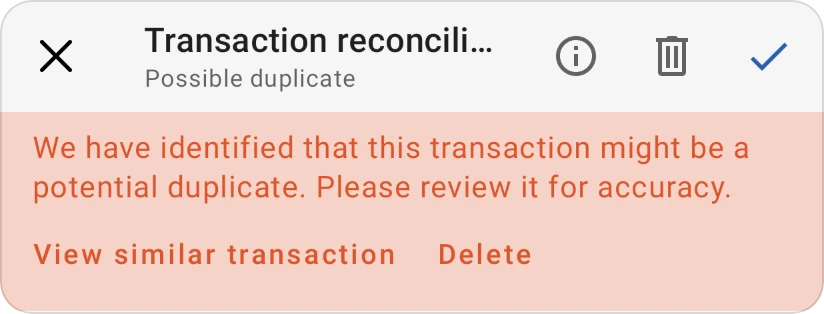
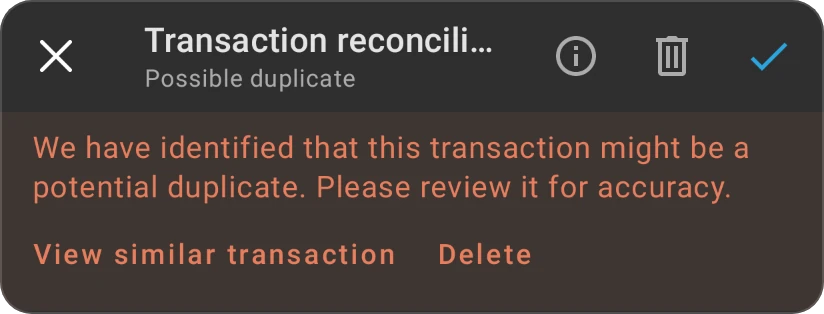
If the receipt looks like a transaction you already have, the screen warns you that it might be a duplicate so you can compare it with the Similar transaction before confirming.
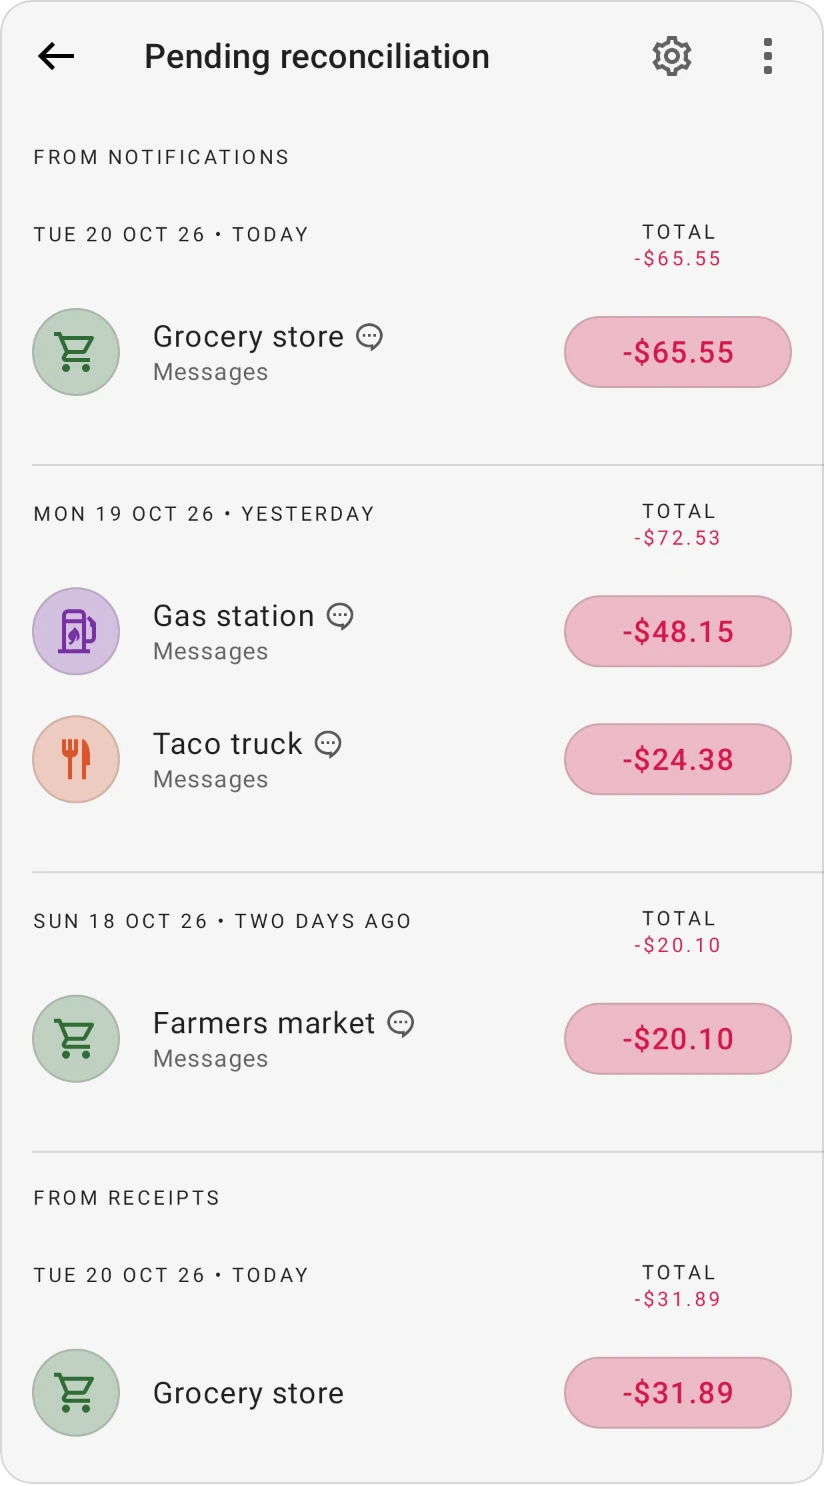
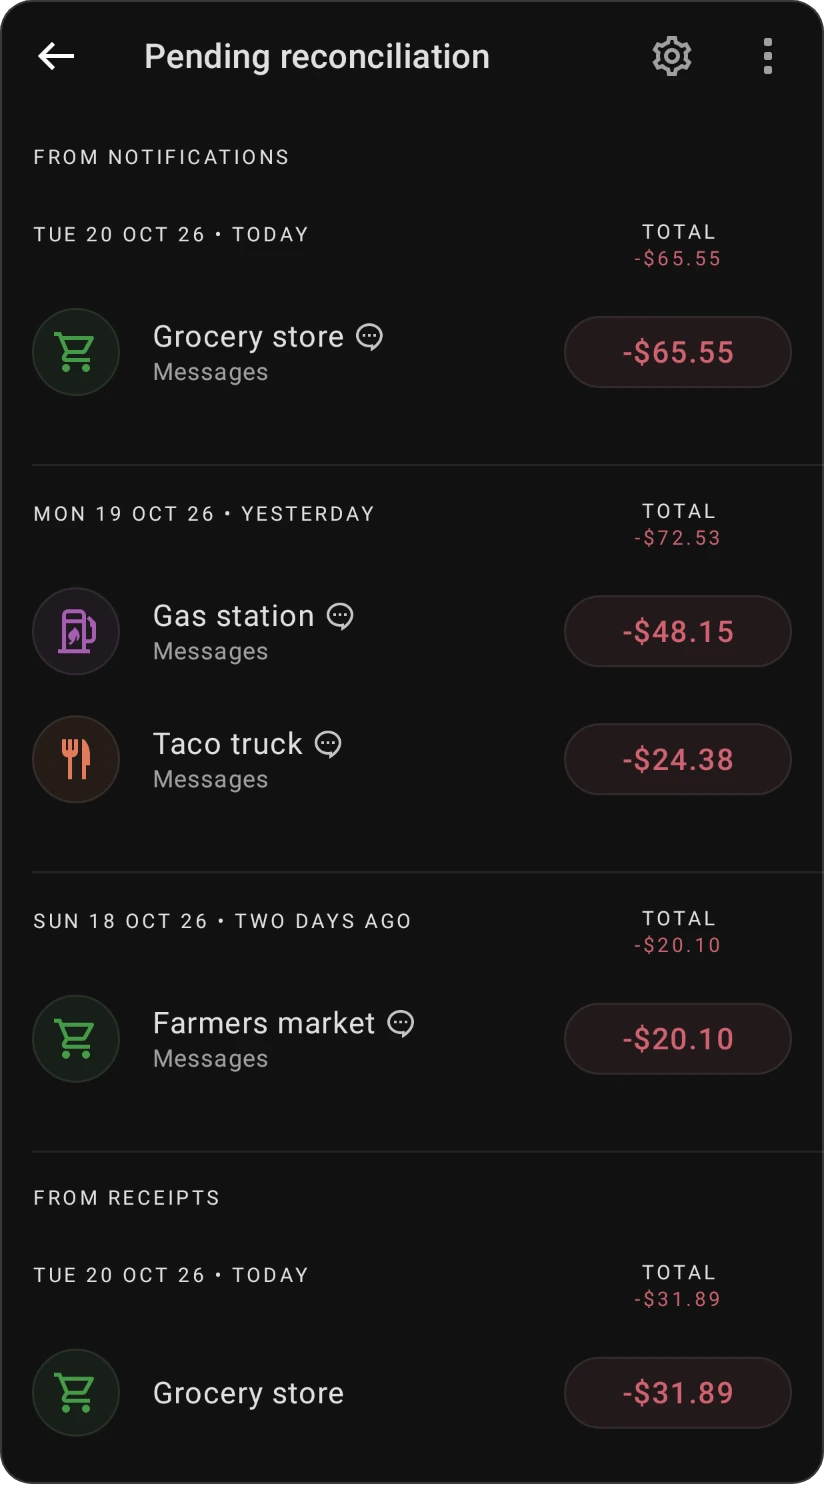
Scanned receipts you haven't confirmed yet wait under From receipts in Pending reconciliation, which you can open from the Budget health check on the Budget tab.
When a scan doesn't work
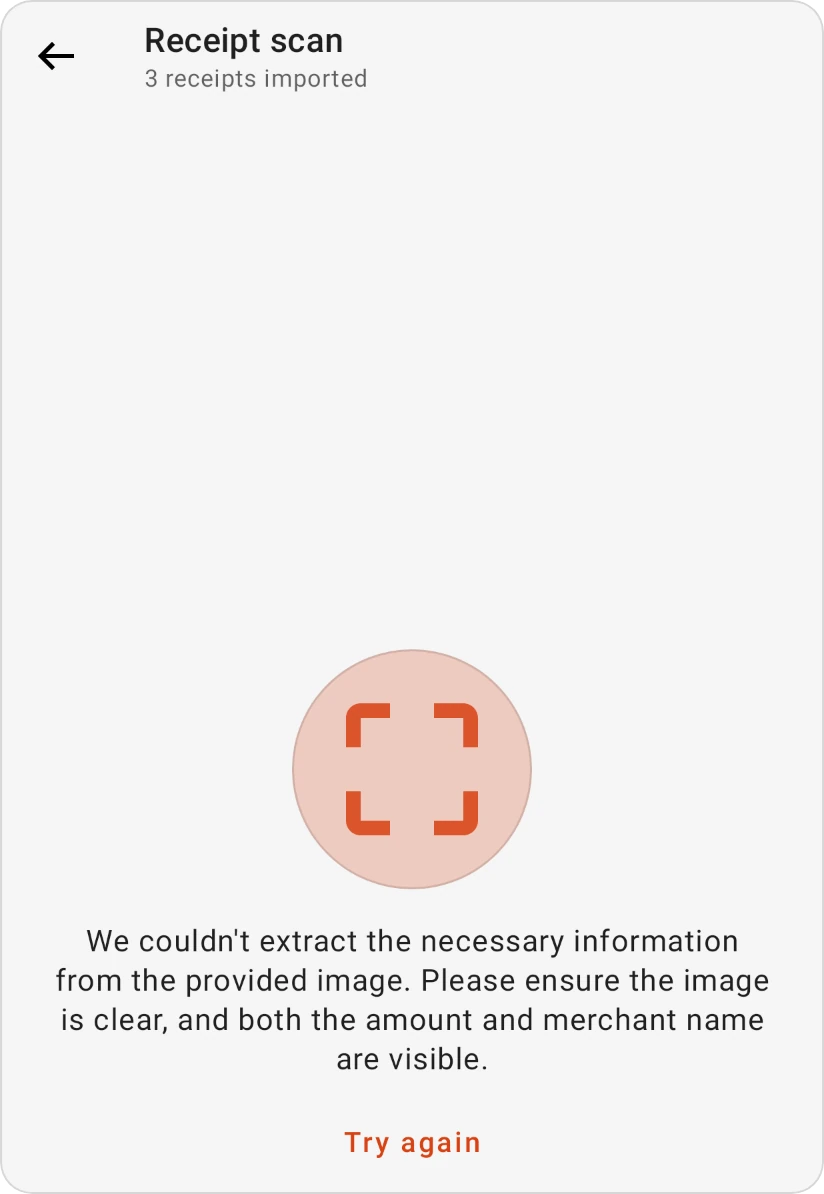
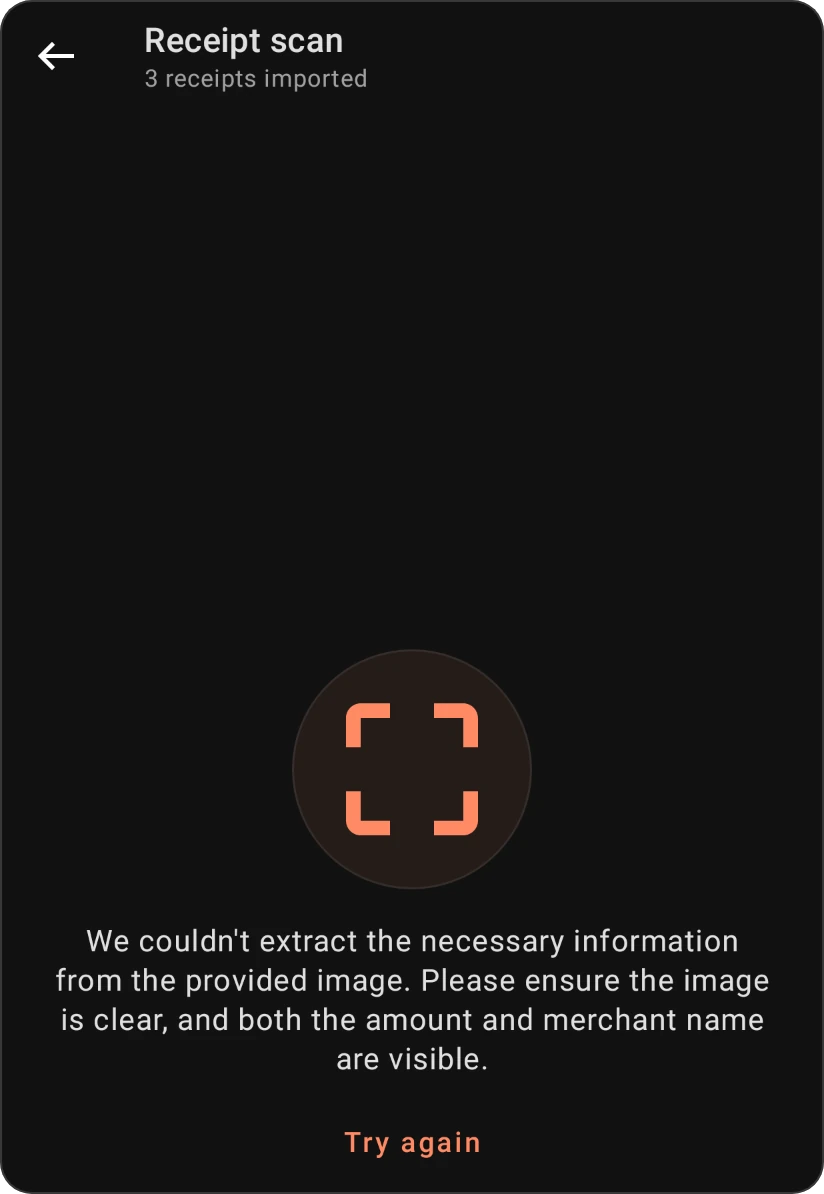
If the app can't find the information it needs, it says so and offers Try again. Retake the photo so that the receipt is clear and both the amount and the merchant name are visible. Good lighting and a flat receipt help.
Free and Pro
The scanner shows how many receipts you've imported. On the Free plan you can import up to 10 receipts; Pro unlocks unlimited receipt imports.