Basic details
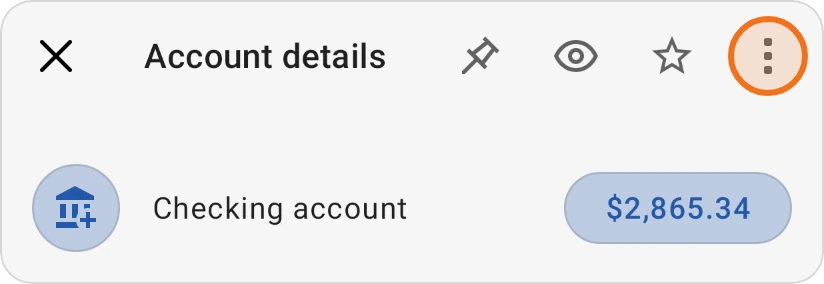
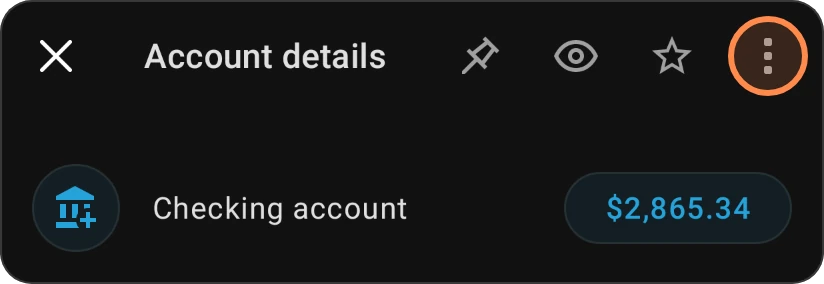
Every account has an Account details screen where you see its balance, add transactions, check how it's trending and manage its settings. Open it by tapping an account in the Accounts tab.
What the screen offers depends on the account type. For example, credit cards and loans get an Add payment action, and off-budget accounts can only have their balance adjusted.
Top bar icons
- Pin: keeps the account at the top of your account list and the account picker.
- Eye: hides the account's balance (it shows as hidden amounts), handy for privacy or for not being tempted by your savings. Tap it again to show the balance.
- Star (checking, savings and credit card accounts): makes this your default account, so it's selected automatically when you add a transaction. Tap again to turn it off.
When you scroll down, the pin and eye icons switch to shortcuts for New transaction and BudgetChat.
Quick actions
Below the balance you'll find the actions available for the account type:
- New income: record money coming into the account, such as your salary.
- New transaction: record an expense paid from the account.
- New transfer: move money between two of your accounts.
- Adjust balance: correct the balance so it matches your bank (see below).
- Add payment (credit cards and loans): pay the card or loan, using the money set aside in its linked category.
- Transaction management: reorder, reconcile and organize the account's transactions.
Adjust balance
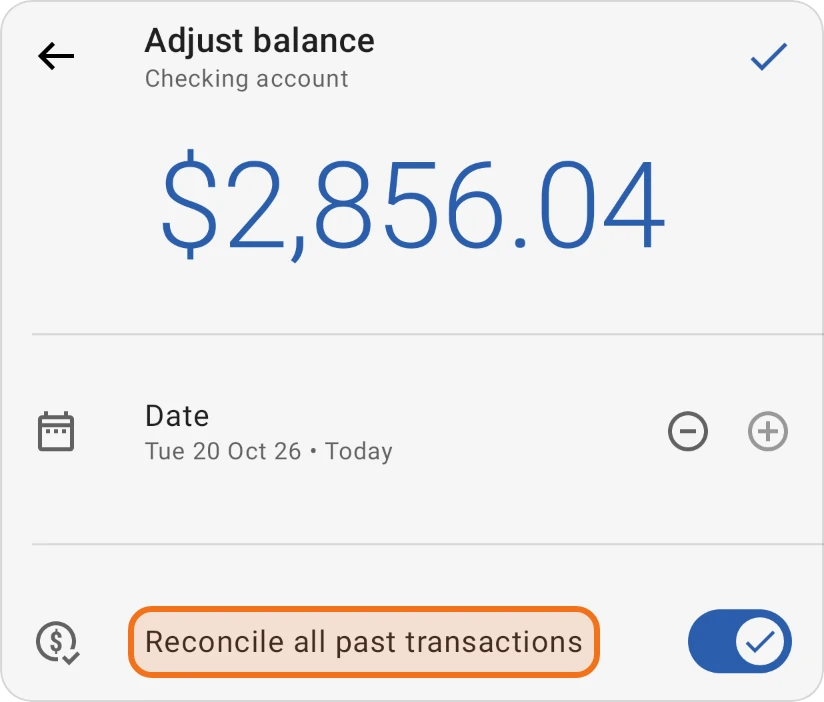
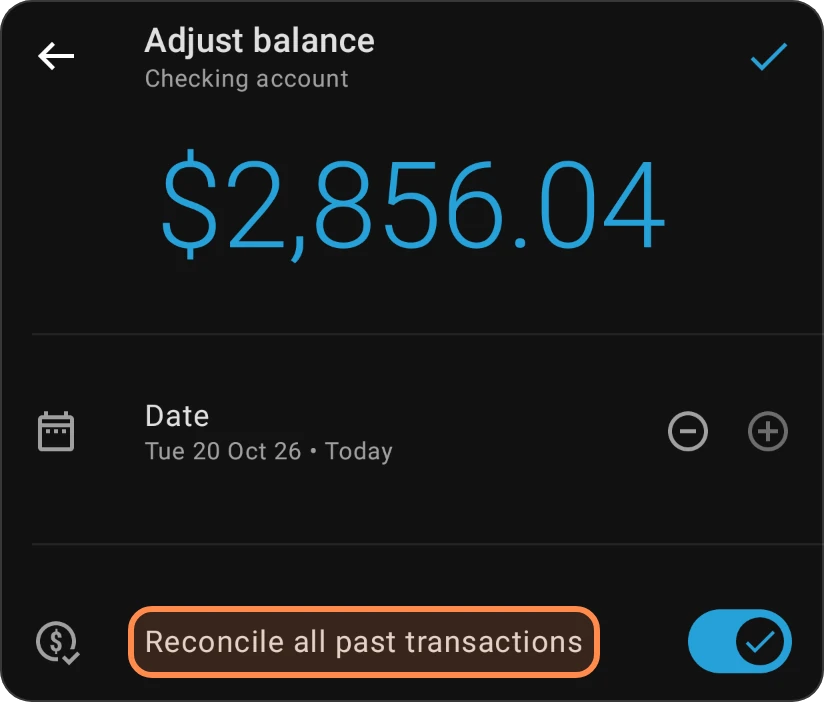
Use Adjust balance when the app's balance doesn't match your bank. Enter the real balance and the date, and the app records the difference as a balance adjustment.
- Auto-allocate funds (shown when the account has a linked category): automatically allocates the adjusted amount to the linked category.
- Reconcile all past transactions (Pro): marks every existing transaction in the account as reconciled in the same step. Any uncleared transactions are cleared and reconciled too, which may change your final balance; the app warns you when that applies. It's a quick way to catch up after an import or start fresh with clean data.
The account menu
Tap the three-dot menu in the top-right corner for more options. Some only appear for certain account types.
- Edit: change the account's name, icon and color.
- Credits & refunds: record money given back to the account, such as a refund.
- Currency: set a currency for this account if it differs from your budget's.
- Account X-Ray: find discrepancies between the app's balance and your bank's. See Account X-Ray below.
- Transaction management: reorder, reconcile and organize your transactions.
- Debt calculator (credit cards and loans): open the debt calculator for this card or loan.
- Account type: switch between Checking, Savings, Investment and Cash on hand.
- Show daily closing balance: in the transaction list, show each day's closing balance instead of the total of that day's transactions.
- Import transactions: import a bank file into this account. See OFX, QIF and OFC and CSV.
- Export recent transactions: export the account's recent transactions.
- Delete: only available while the account has no transactions. A credit card also needs a payment category with no history: when its category has transactions or allocated funds, Delete says "This card's payment category has transactions or allocated funds. Archive the card instead." Deleting the card would delete that category, so archive the card to keep its history.
- Archive: hide an account you no longer use but want to keep for history. To finish archiving, the balance must be zero; the app asks you to adjust it first. See Archived accounts to bring it back.
Account X-Ray
Account X-Ray helps you find why the app's balance doesn't match your bank. You enter the balance your bank shows, and the app lists the account's recent transactions day by day, with the balance each day should end on. Open it from the account's ⋮ menu.
Under Scan configuration:
- Real balance in your bank: tap it and enter the balance your bank shows right now. It starts at the app's balance.
- Scan from: the first day to check. It starts 7 days back, and you can go back up to 60 days. Use the − and + buttons to move it a day at a time, or tap the date to pick one.
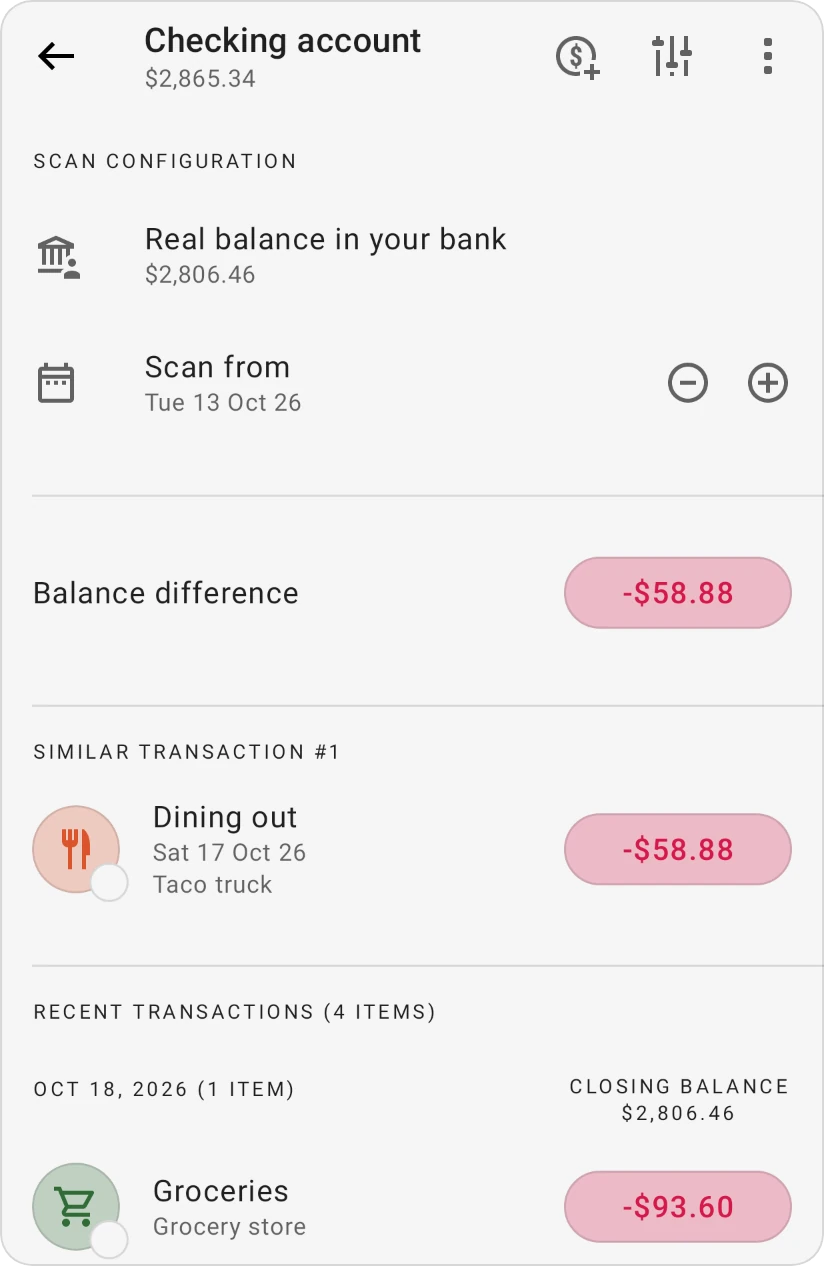
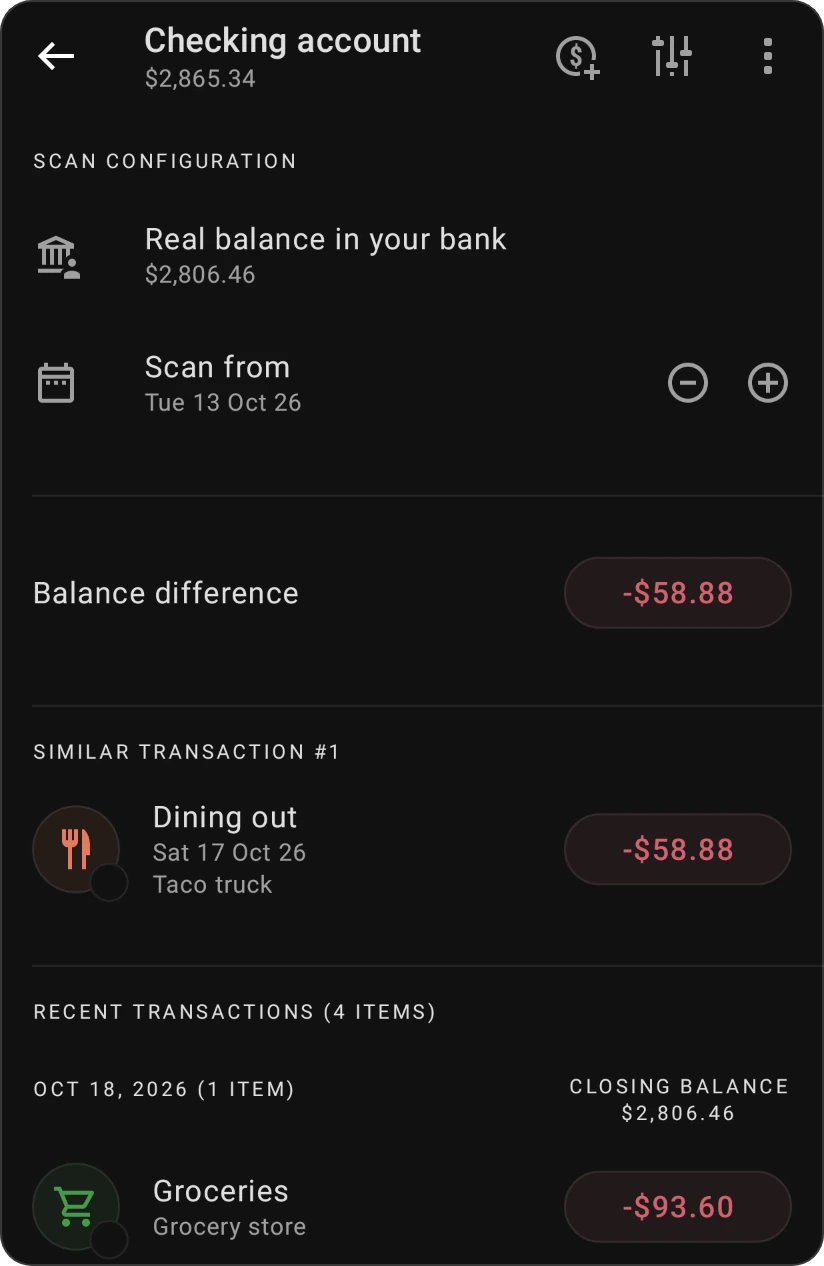
The top bar shows the account's name and its balance in the app.
When the two balances differ, a Balance difference row shows the gap and stays at the top while you scroll. If any transaction has exactly that amount, it's listed under Similar transactions, since it's the first one worth checking.
Below, Recent transactions are grouped by day. Each day shows its Closing balance: what your bank should show at the end of that day, worked back from the bank balance you entered. Only cleared transactions change it.
Find a difference with your bank
- Open the account, tap ⋮ and choose Account X-Ray.
- Tap Real balance in your bank and enter the balance your bank shows today.
- Set Scan from to a day you know both balances matched, such as the last time you reconciled.
- Check Similar transactions first: a transaction with exactly the difference's amount is often the one that's wrong, duplicated or missing at the bank.
- Compare each day's Closing balance with the end-of-day balance on your bank statement, starting from the newest day. The first day where they differ is where the problem is: look for a missing, duplicated or wrong transaction on that day.
- Fix it: tap a transaction to edit it, or use New transaction in the top bar to add a missing one. The Balance difference updates as you go.
- As you confirm each transaction against your bank, tap its icon to mark it reconciled (this needs an internet connection).
- If a difference is left that you can't explain, tap Balance difference (or the Adjust balance icon) to record it as a balance adjustment.
The ⋮ menu on this screen also has:
- Credits & refunds: record money given back to the account.
- Hide cleared & reconciled: hide transactions you've already cleared and reconciled. The closing balances stay the same.
- Dim reconciled transactions: show reconciled transactions faded, so the ones left to check stand out.
- Manual adjustment: an off-budget adjustment. It changes the account's balance, but it might not show in the transaction history, so the app asks you to confirm first.
With Pro, you can also drag transactions to reorder them within the same day.
Archived accounts
An archived account disappears from your account list, but its history stays. To see your archived accounts or bring one back:
-
In the Accounts tab, tap the ⋮ menu and choose View archive.
-
Archives lists your archived accounts, newest first, with the date each was archived.
-
Tap the restore icon next to an account, then Unarchive to confirm.
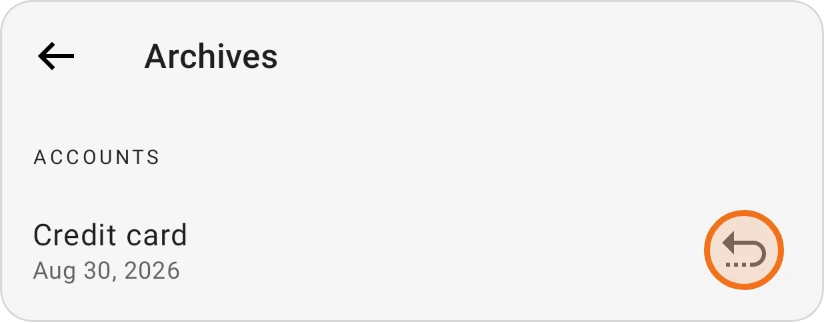
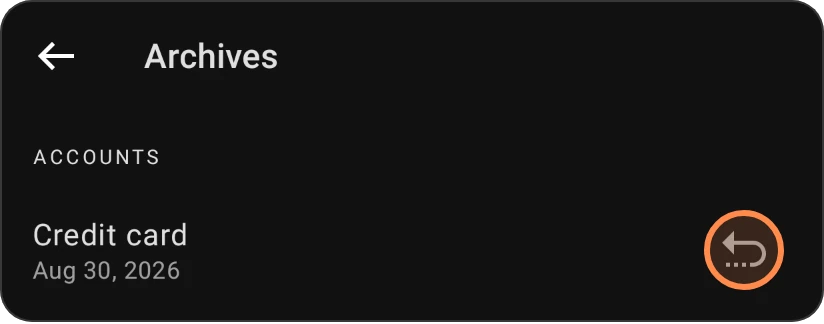
The account is back in your account list ("Account unarchived."). If nothing is archived, the screen says "The archive is empty. You'll see items here once they're archived."
Further down the screen
- Linked category (savings, investment, credit card and loan accounts): link a category to auto-allocate funds and track goal progress.
- Notes: keep notes about the account.
- Reminders: add reminders related to the account, such as an upcoming payment.
- Spending alert or Balance alert: get warned when spending or the balance crosses a limit. See Alerts.
- Spending insights and Recent spending charts. See Recent spending.
- Running balance: a line chart of how the account's balance has changed month by month (Pro). On the Free plan the chart shows sample data; tap it to see the Pro options.
- Balance projection and Upcoming transactions. See Balance projection.
- Recent transactions, with a search icon to search only this account's transactions.
If an account has uncleared transactions, the screen also shows Uncleared and Uncleared + cleared amounts. See Uncleared balance.