Expense
An expense records money leaving one of your accounts. It comes out of a budget category, so it lowers what's available in that category.
Add an expense
-
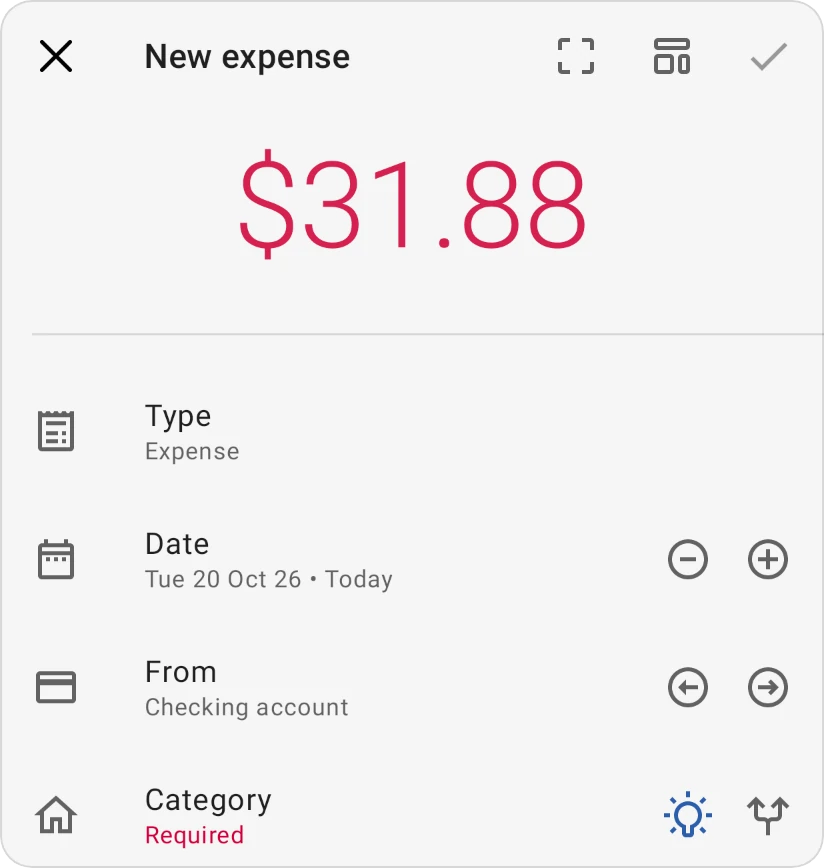
Tap Add in the bottom bar and choose New expense.
-
Enter the amount.
-
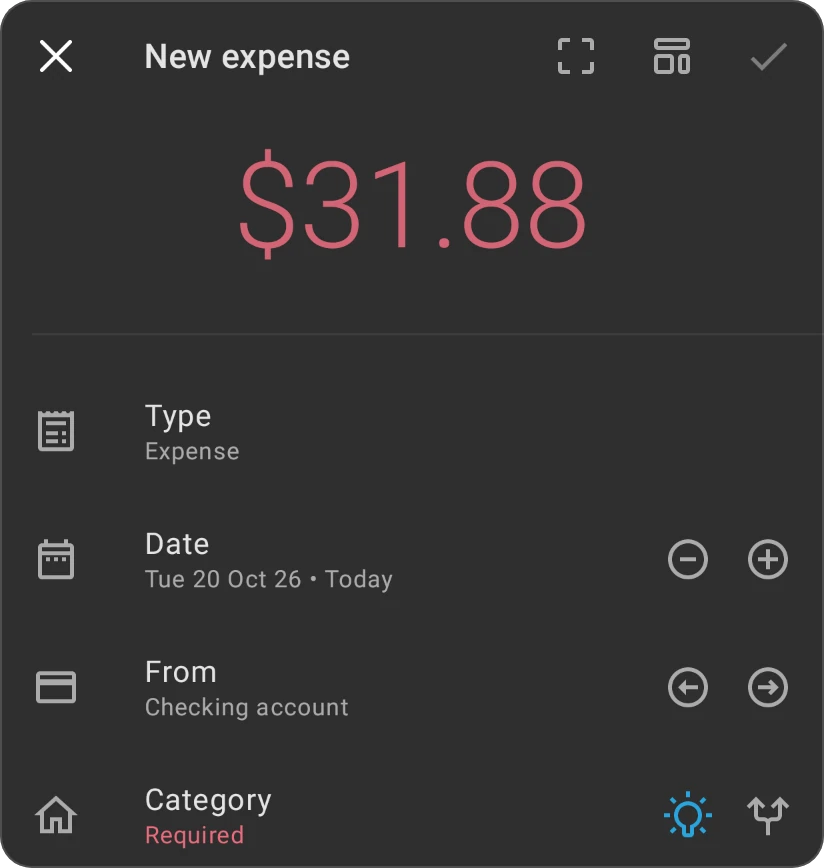
From: the account the money leaves, such as your checking account or a credit card. Use the arrows next to it to cycle through your accounts.
-
Category: the category the money comes out of, such as Groceries or Utilities. It's Required. The lightbulb next to it, Smart suggestions, suggests one from your past expenses (Smart helpers).
-
Fill in any optional fields you want (payee, tags, notes and so on; see Overview).
-
Tap the checkmark to save.
If you pick a date after today, the expense is saved as an upcoming transaction and only affects your balances on that date.
Split an expense across categories
One receipt often covers more than one category, like groceries and household items from the same shop.
-
In the Category row, tap Split transaction.


-
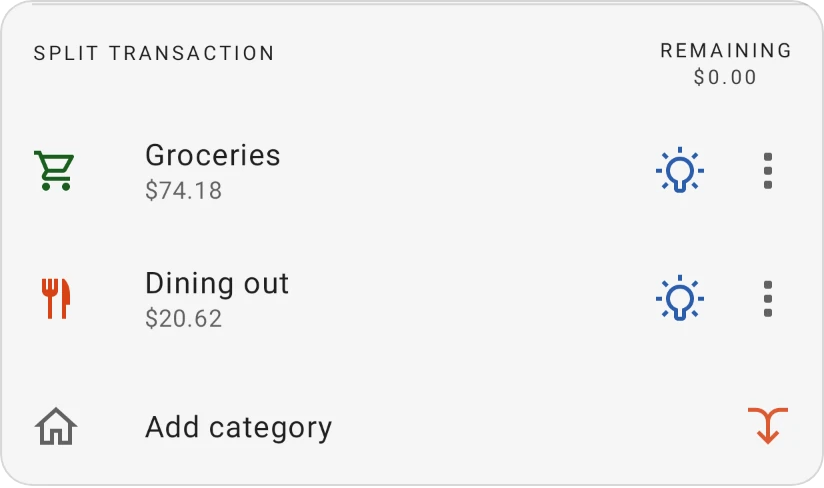
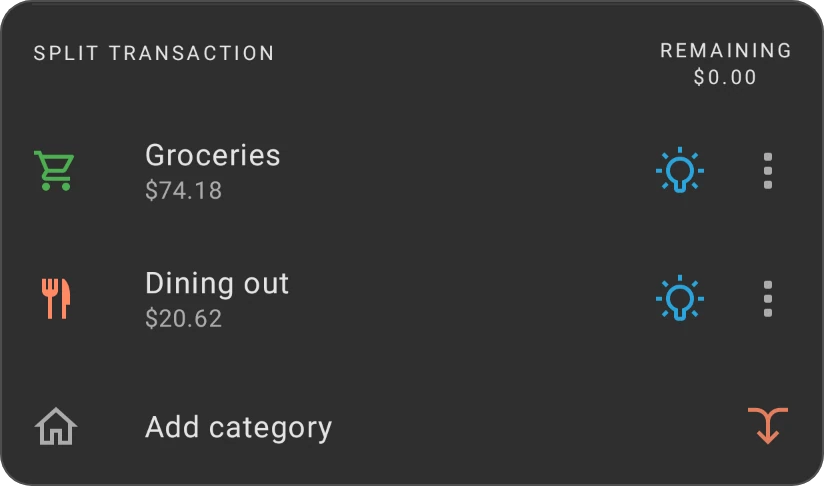
Tap Add category and enter how much goes to each category. Remaining shows what's left to assign; it has to reach zero before you can save.
-
Each part can have its own payee, notes and tags. When the parts have their own tags, the general Tags field is hidden.
To go back to a single category, tap the merge icon at the end of the Add category row.
Split suggestions
Once the expense has an amount and at least two categories, each part shows a lightbulb icon. Tap it to open Split suggestions for that part and pick one; the part's amount changes and Remaining updates.
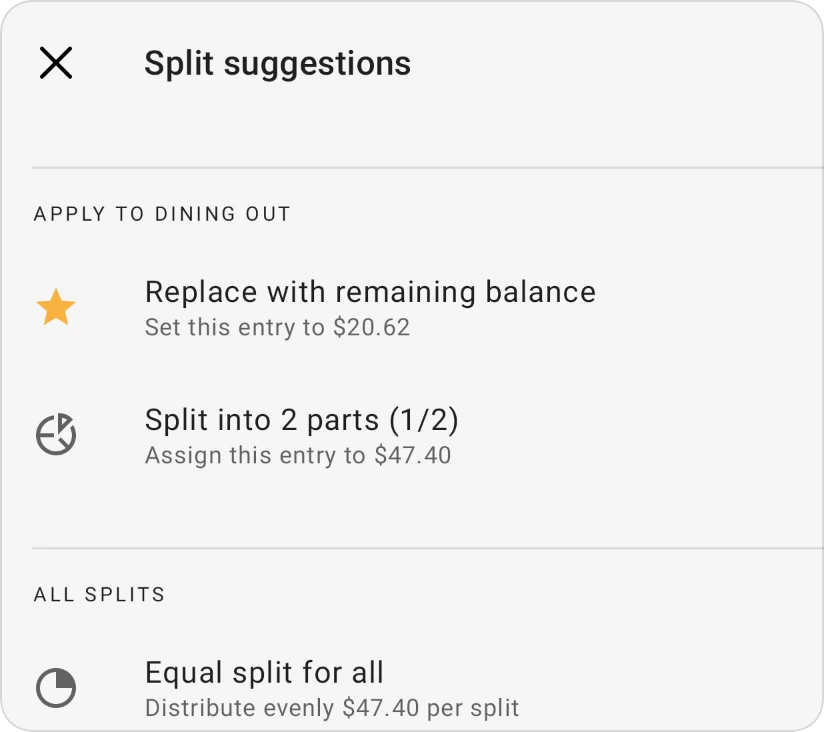
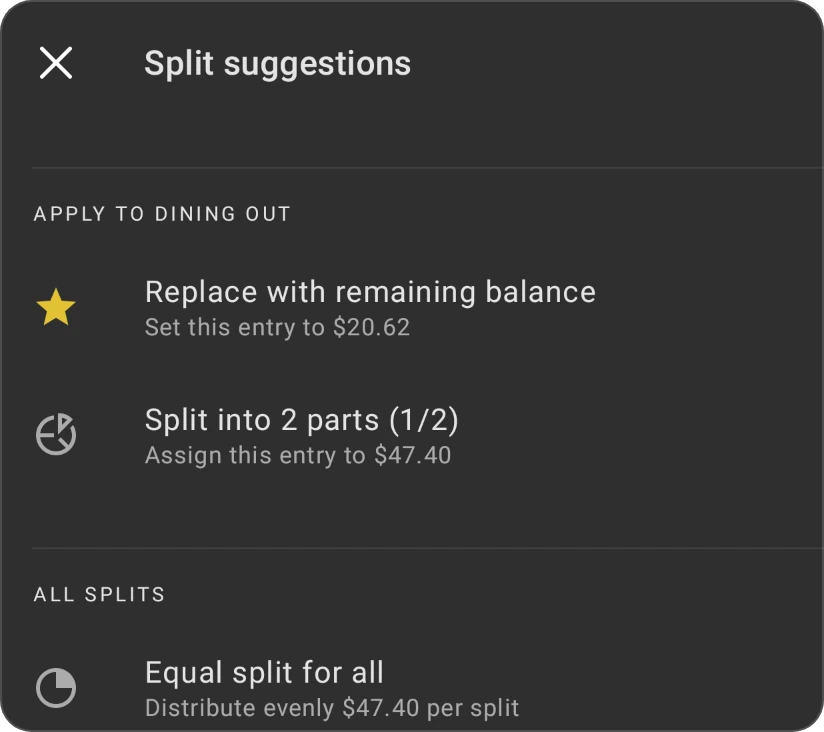
Under Apply to and the part's category:
- Replace with remaining balance: set this part to what's still left to assign.
- Add balance to current split: add what's left to this part's current amount (shown when the part already has one).
- Split into 2 parts (1/2) (or 3, 4 and so on, one per part): set this part to an equal share of the total.
The first two appear once some of the total is assigned and some is still left.
Under All splits:
- Equal split for all: share the total evenly across every part. If it doesn't divide exactly, the last part gets the difference, so Remaining reaches zero.
Paying with a credit card
When the From account is a credit card, the expense still comes out of its category straight away, and the money moves to the card's payment category so it's ready when the bill is due. See Credit cards.
Quick expense
Quick expense records a small expense in a few taps, without choosing a category: a coffee, a parking fee, cash you can't place yet. It's meant for speed: the money comes off your Ready to allocate money instead of a category.
Open it from:
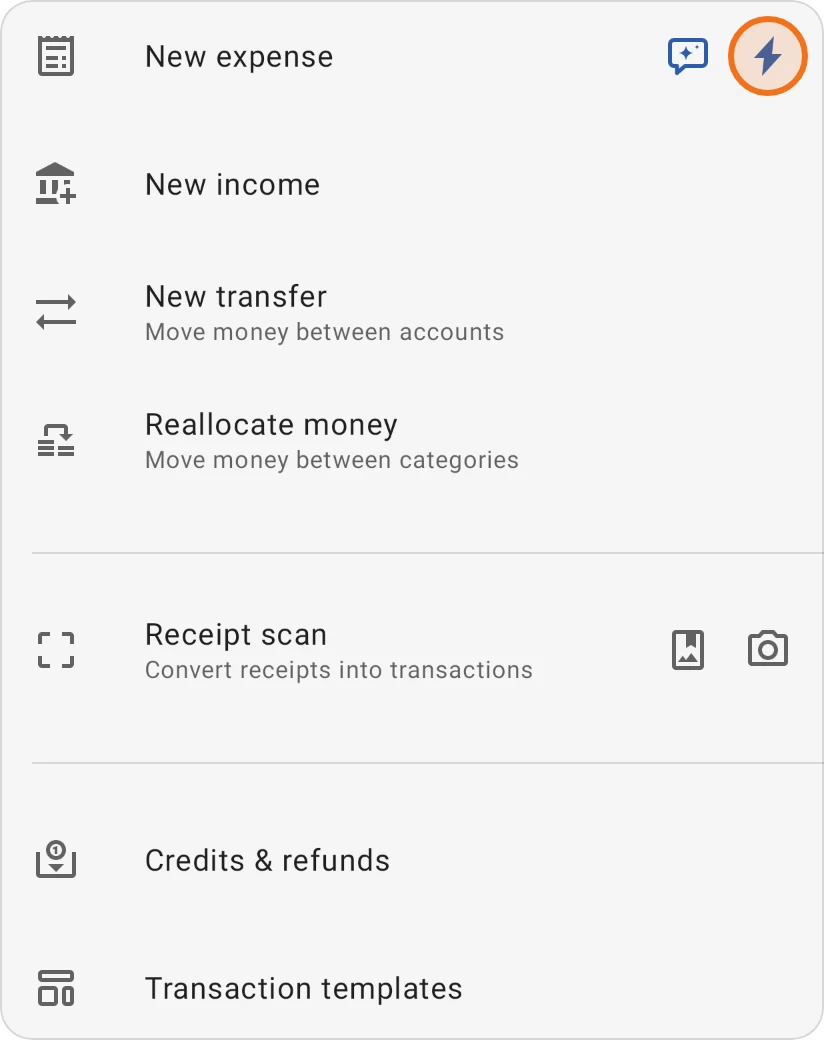
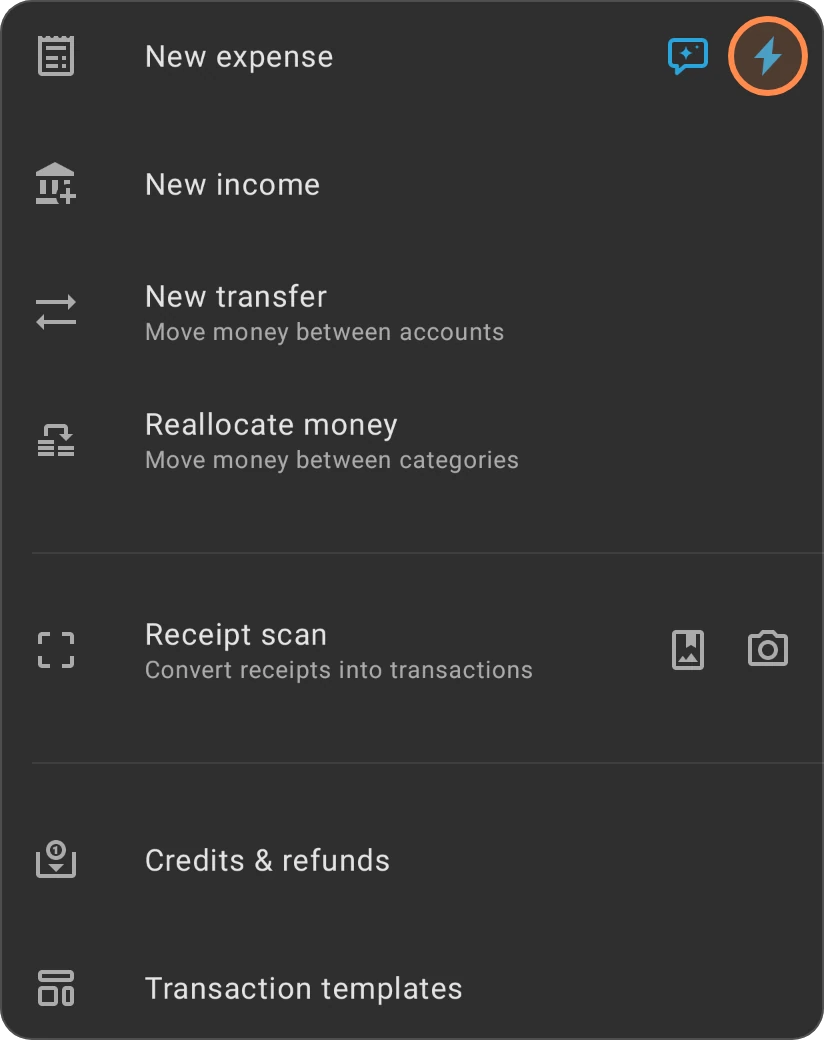
- the Add menu: the lightning button on the New expense row (once you've used it, Quick expense also gets its own row in the menu);
- the ⋮ menu on the Transactions screen;
- on Android, the app's shortcuts (touch and hold the app icon), once you've used it.
- Enter the amount. The keypad opens straight away.
- Check the Date and the Account it was paid from. The first time, the account is your default account (the star on an account's screen, see Basic details); after that, the one you used last time.
- Add Notes if you like (Optional).
- Tap the checkmark to save.
A quick expense is saved as cleared and can't be edited afterwards. When you want the spending in a category, record a normal expense instead.