Groups and categories
Managing categories effectively is key to accurate and functional budgeting. This section of the manual will guide you through adding, editing, and deleting categories to tailor your budget to your specific needs.
It's crucial to have a budget that accurately mirrors your current financial circumstances. The ability to edit and customize categories in app is designed specifically for this purpose. As your financial needs and goals evolve, adjust your categories to ensure they truly represent your spending habits and priorities. This not only helps in tracking where your money goes but also in making informed decisions that align with your real-life financial goals.
Adding a New Category
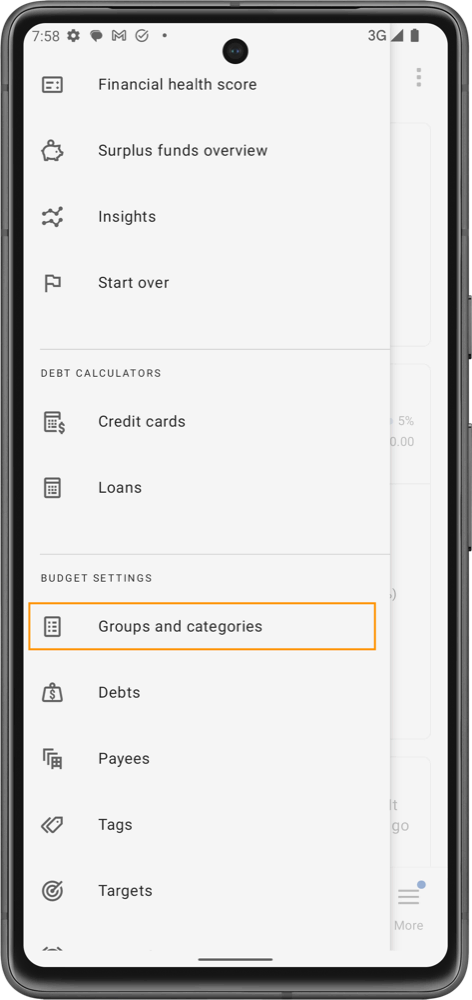
- Navigate to Groups and Categories: Start on your main screen, open and side menu and select 'Groups and Categories' item.
- Add Category:
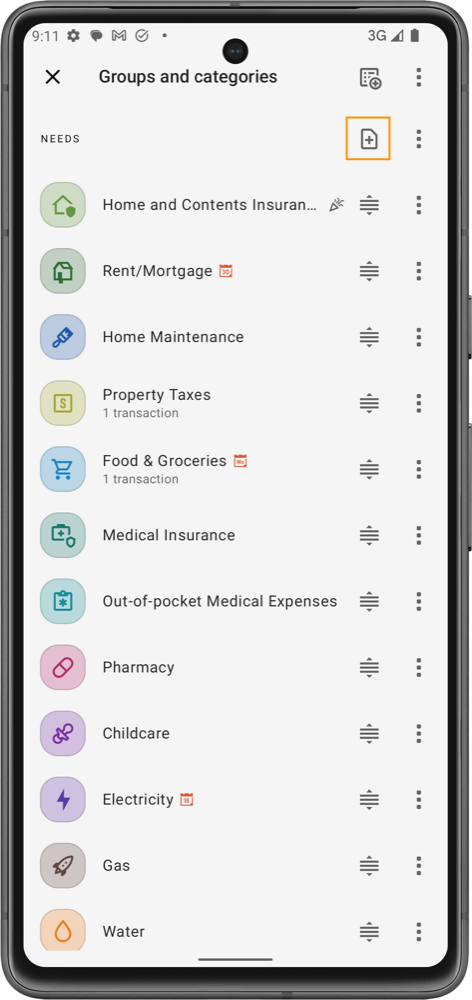
- Tap the '+' icon next to the group where you want to add a new category. This will open a new screen where you can define the category details.
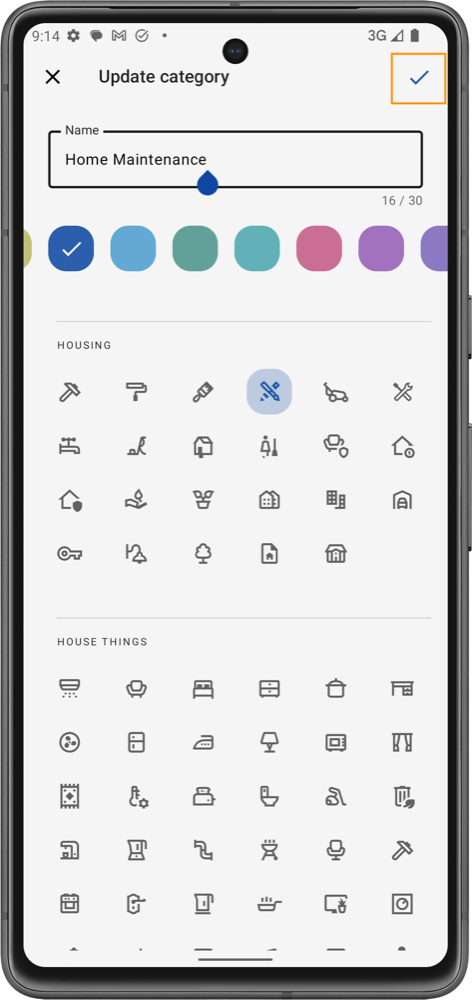
- Enter the name of the new category, icon and color.
- Save the Category: After entering the details, tap the confirm button on the top right to add the category to your group.
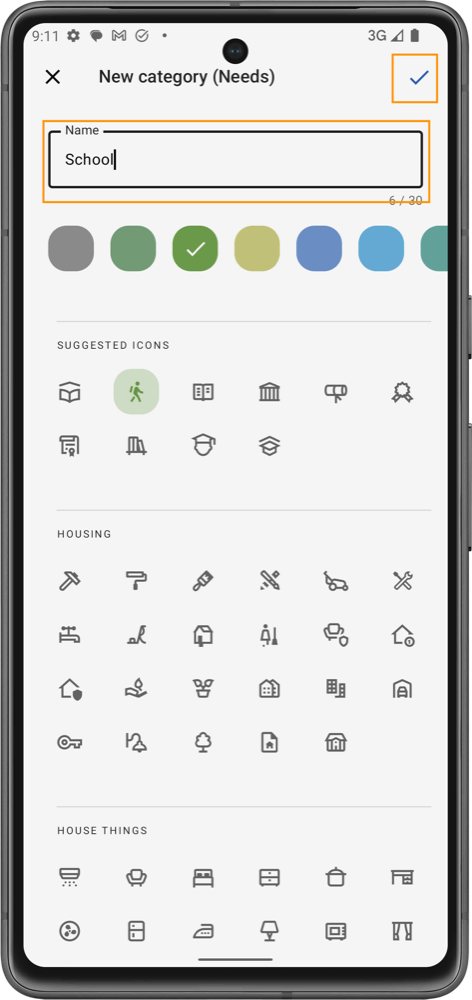
When you enter a name for a new category, our app uses advanced AI to suggest the best icon for it. This feature is designed to make your categories visually intuitive and easy to recognize, enhancing your overall budgeting experience. Just start typing, and let our smart system handle the rest!
Editing an Existing Category
- Access the Category Options:
- Find the category you wish to edit and tap the three-dot menu next to it.
- Select 'Edit' from the dropdown menu.
- Modify Category Details:
- In the editing screen, change the category name, icon, or color.
- Adjustments can be made to fit your current financial needs or goals.
- Save Changes: Ensure all changes are correct, and then tap the confirm button on the top right to add the category to your group.

Deleting or Archiving a Category
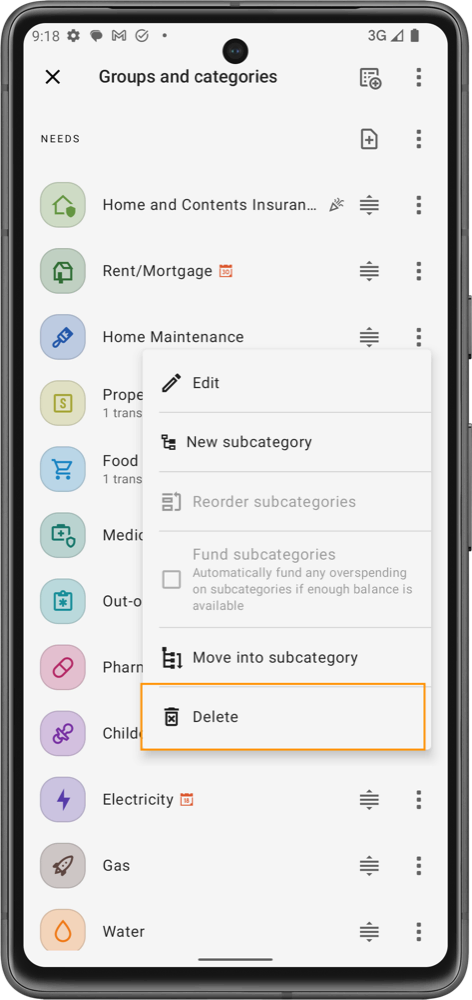
- Select the Category to Delete:
- Navigate to the category you intend to remove and tap the three-dot menu.
- If the category can be deleted (no existing transactions or allocated funds), select 'Delete'. If it cannot be directly deleted due to existing data, you'll have the option to 'Archive' it instead.
- Confirm the Deletion or Archiving:
- Confirm your choice by tapping 'Delete or Archive' in the confirmation popup. This will either permanently delete the category or move it to the archive, depending on your selection.
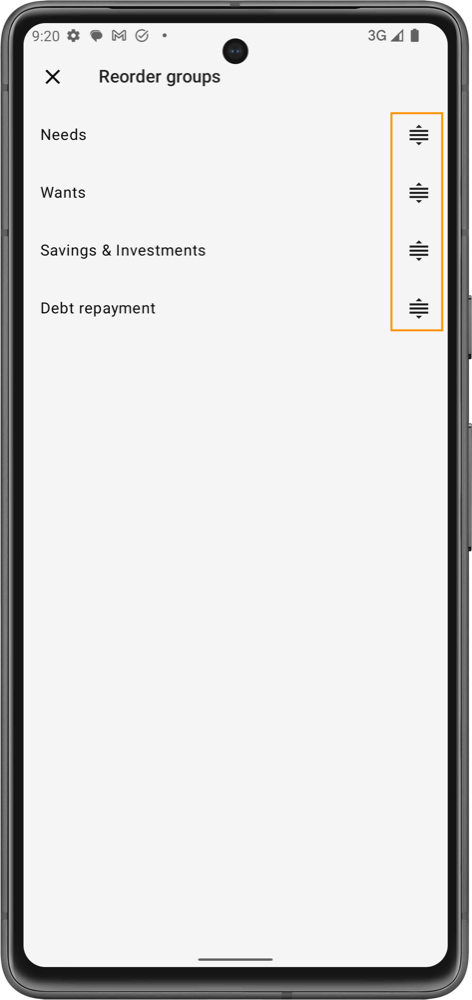
Reordering Groups:
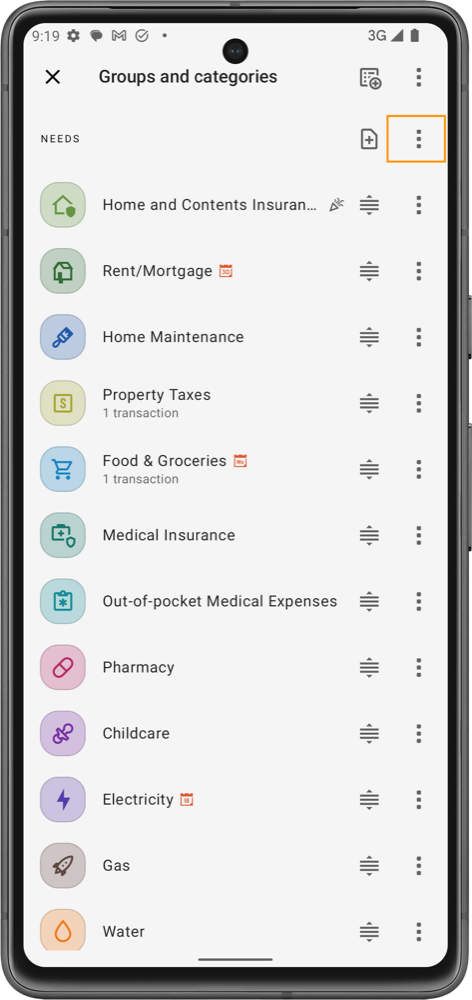
- To reorder groups, navigate to the main 'Groups and Categories' screen.
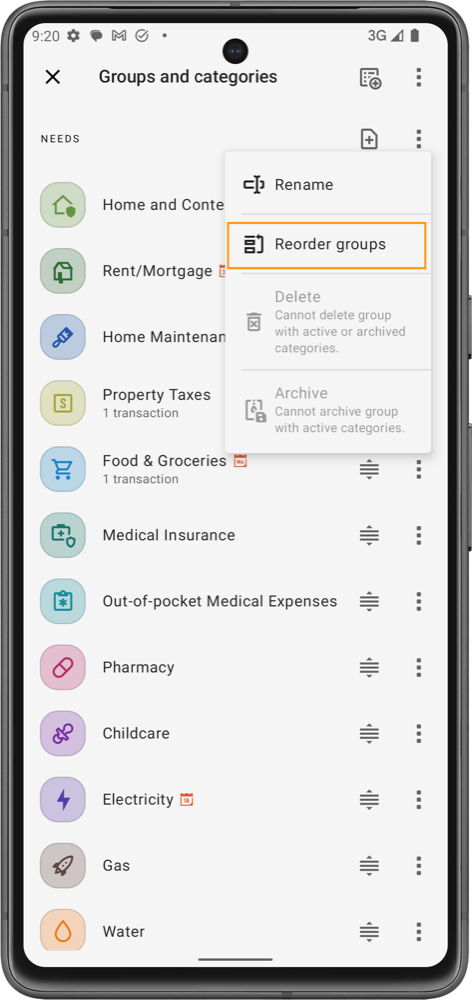
- Tap the three-dot menu ('...') on the top right corner of the screen.
- Select 'Reorder groups' from the dropdown menu. You can then use the handle to drag and drop the groups into your desired order. This allows you to customize the display of groups according to your priority or preference.
Reordering Categories:
- Categories within a group can be reordered simply by dragging them up or down using the handle represented by a series of horizontal lines next to each category name.
- This feature is useful for prioritizing categories in a way that reflects your spending habits or budgeting focus.

Managing Subcategories
Subcategories provide an additional layer of organization within your main budget categories, allowing for more detailed tracking and management of your finances.
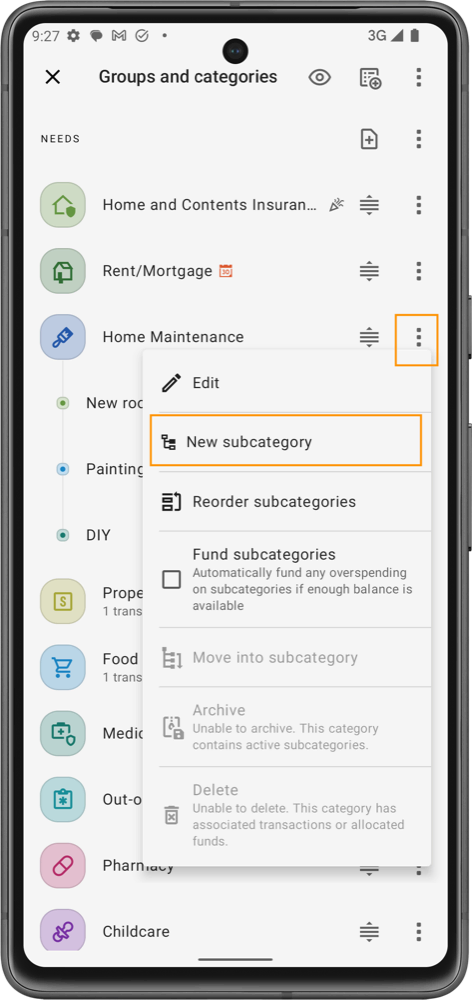
Creating Subcategories:
- Navigate to the Parent Category: Go to the category under which you want to add subcategories.
- Add a Subcategory:
- Tap on the parent category to view its details.
- Select ‘New subcategory’ from the options menu.
- Enter the name for your subcategory and set any specific budget limits or rules as needed.
- Save the Subcategory: Confirm the details and save the new subcategory. It will now appear nested under the parent category in your budget overview.
Independence and Funding Options:
-
Independent Tracking: While subcategories fall under a parent category, they operate independently in terms of budgeting and expense tracking. This means you can set unique budgets for each subcategory without affecting the parent category’s total allocation directly.
-
Automatic Funding from Parent Category: If you prefer a more integrated approach, you can enable an option to automatically fund subcategories from their parent category’s budget. This is particularly useful when you allocate a lump sum to a parent category and want the app to manage how funds are distributed among its subcategories based on spending.
- To enable this, go to the parent category’s settings and select ‘Fund subcategories’. This setting allows the app to automatically adjust the allocations within subcategories whenever you spend from them, ensuring that the total budget for the parent category is optimally utilized.

Using subcategories can greatly enhance your budgeting precision. They allow you to break down broad financial areas into more manageable parts, making it easier to track specific expenses and stay within budget.
Default Categories and Customization
- Basic Set of Categories: The app comes with a basic set of categories designed to fit a variety of common financial situations. These categories cover typical expenses such as 'Food & Groceries', 'Rent/Mortgage', and 'Utilities'.
- Customization: While the app provides a fundamental structure, it is fully customizable. You can modify existing categories or add new ones to better align with your personal or household financial management needs.
Tips for Effective Category Management
- Utilize Default Settings: The basic set of categories is a great starting point. Use them as a foundation and customize as you see fit.
- Regular Updates: As your financial situation changes, revisit and adjust your categories to ensure they remain relevant and helpful in achieving your budgeting goals.
- Archiving Unused Categories: If certain default or previously created categories are no longer relevant, consider archiving them instead of deleting. This keeps your budgeting interface clean while preserving historical data for future reference.
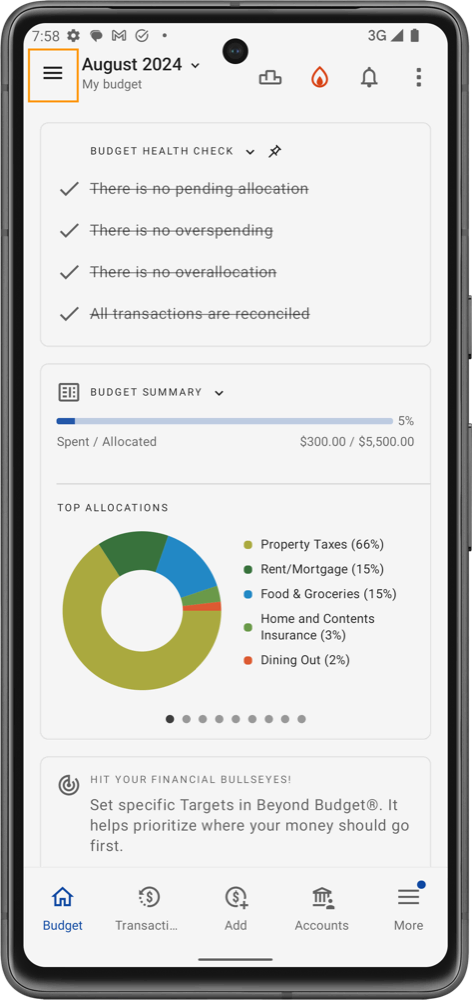
The category progress bar is shown inside the available funds field by default, but you can display it below the category name in the Category Visuals section.