Warranty management
Warranties often cover repairs or replacements, but only if you remember you have one and can find the proof of purchase. Warranties keeps every warranty in one place, shows how long each one has left, and stores the receipt with it.
On the Free plan you can track 3 warranties. Pro raises this to 200.
Add a warranty
-
Open the side menu and tap Warranties (under Miscellaneous).
-
Tap New warranty (or the + button at the top).
-
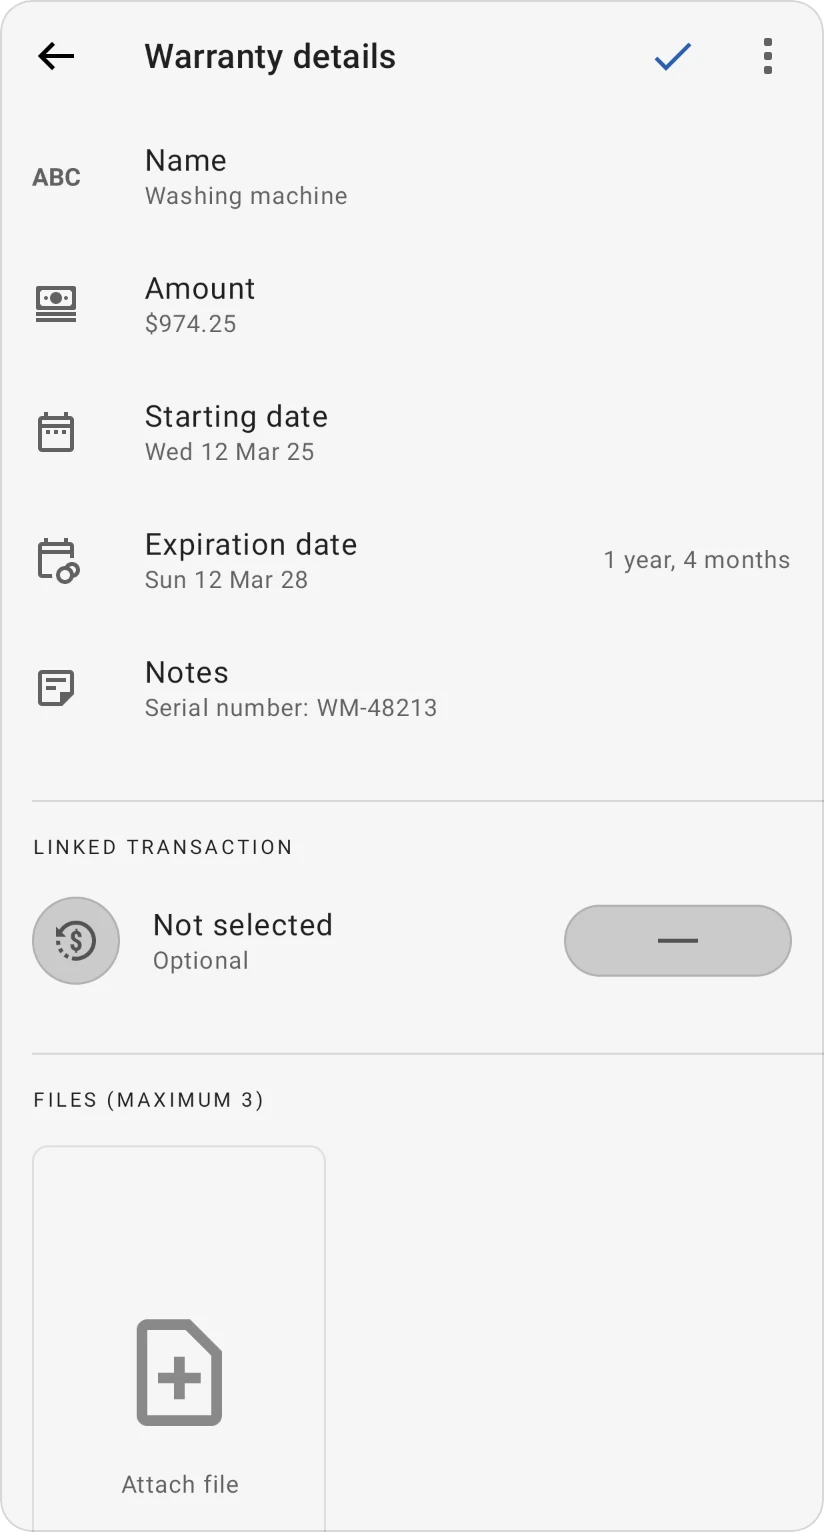
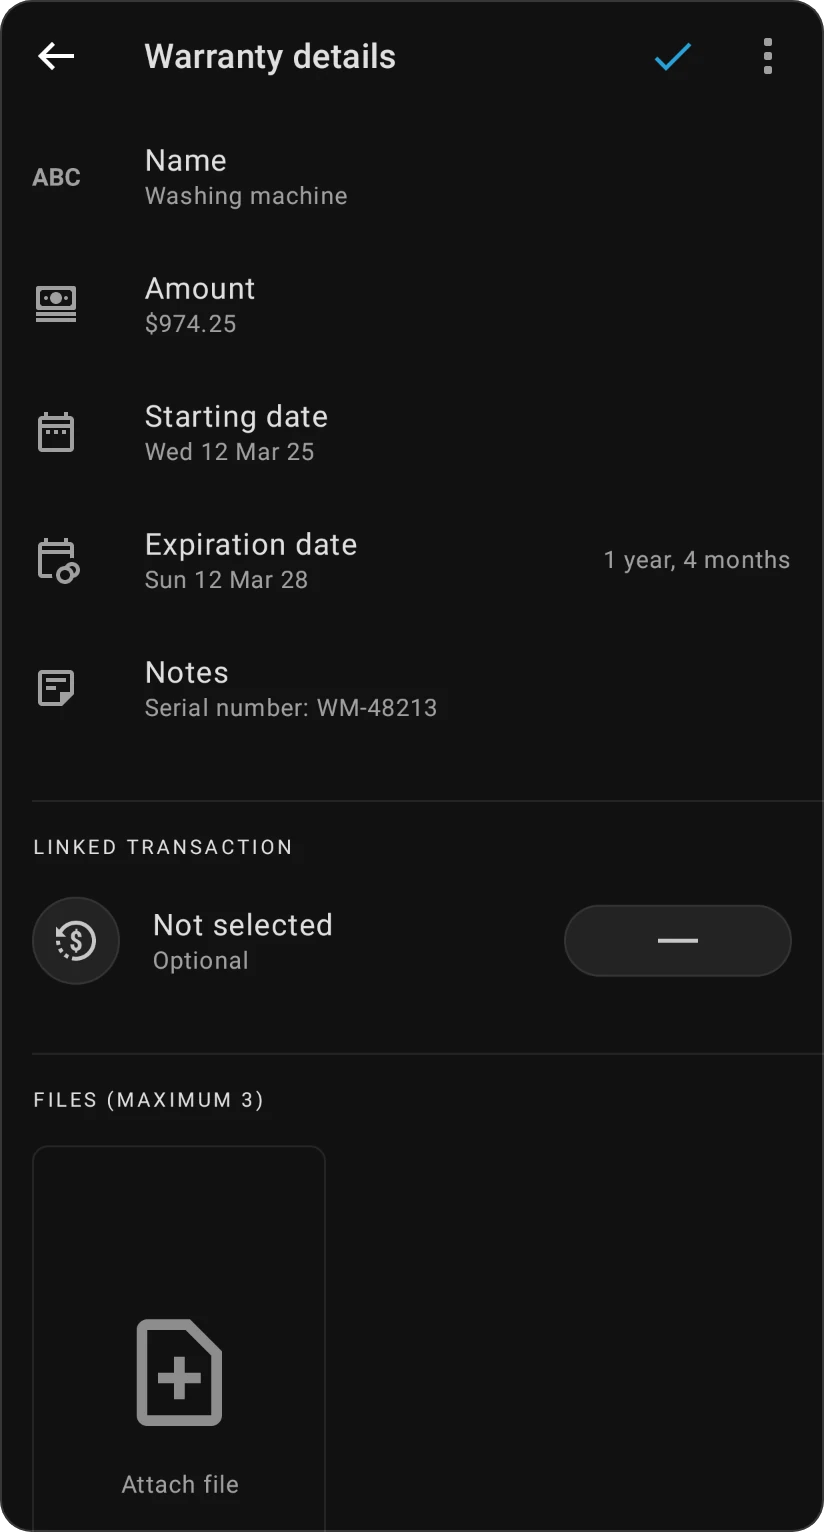
Fill in:
- Name: the product, for example "Washing machine".
- Amount: what you paid.
- Starting date: the purchase date (today or earlier).
- Expiration date: when the warranty ends. Quick options cover 1, 2, 3 and 5 years.
- Notes (optional): the store, the serial number, the terms, or anything you'll need for a claim.
-
Under Linked transaction, optionally pick the expense you paid with. If its amount differs from the warranty's, the app asks whether to Update warranty amount? to match.
-
Under Files (Maximum 3), optionally attach a photo or file of the receipt or warranty card.
-
Confirm to save.
Always attach the receipt. When something breaks, you'll have the proof of purchase on your phone or computer instead of hunting for paper.
Keep track
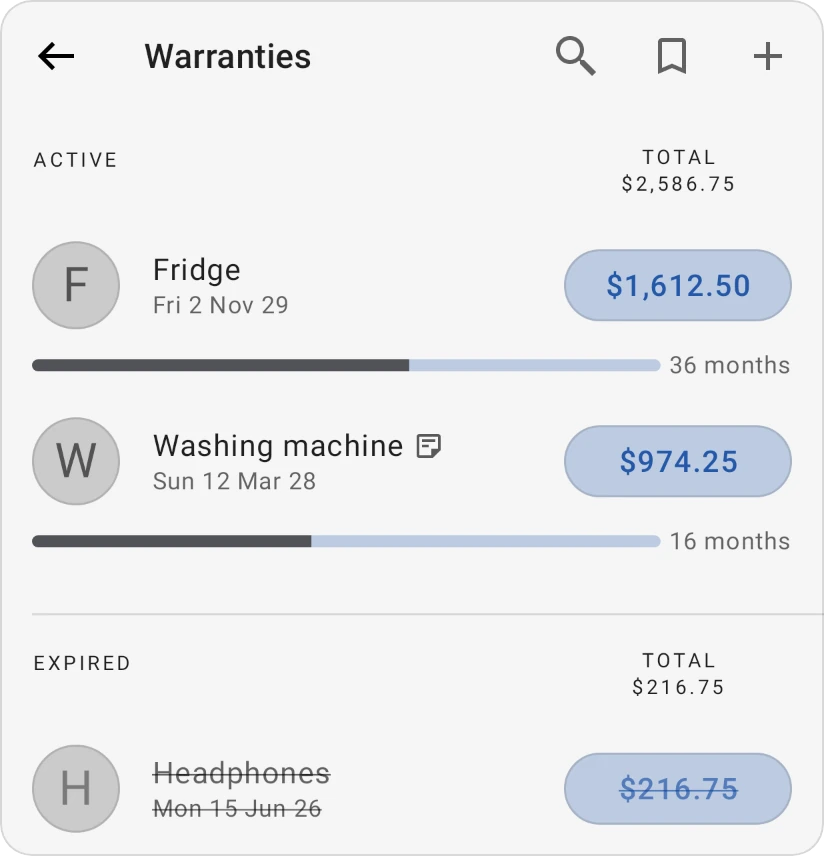
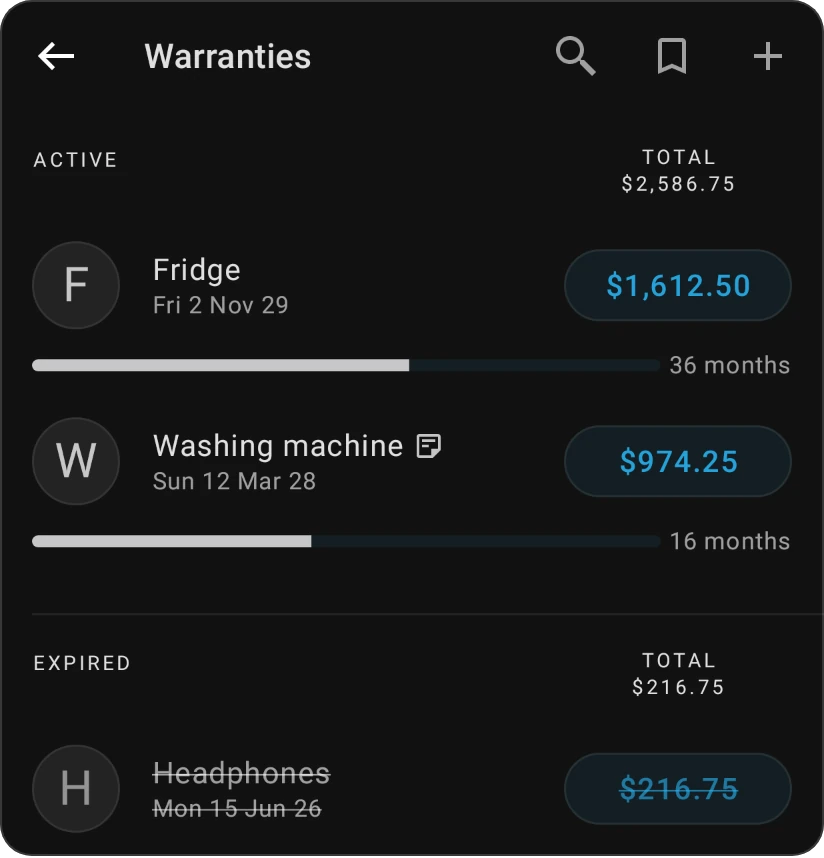
The Warranties screen groups your warranties into Active and Expired, each with the total amount covered. Active warranties are sorted by time left, and each one shows a progress bar and the number of months remaining. Small icons show which warranties have notes or attached files.
- Tap the search button to find a warranty by its name, notes or amount.
- Tap a warranty to see or change its details. From there you can view, share or delete its files, open the linked transaction, pick another one or unlink it, or Delete the warranty.
- Tap the shortcut (bookmark) button at the top to add Warranties to your Shortcuts on Home.